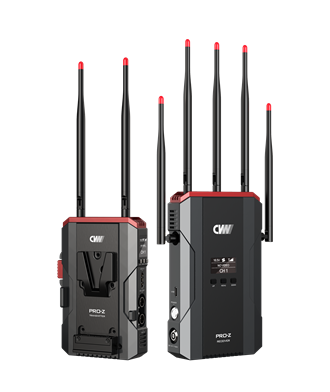
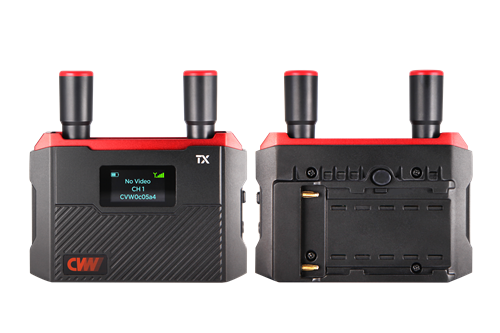
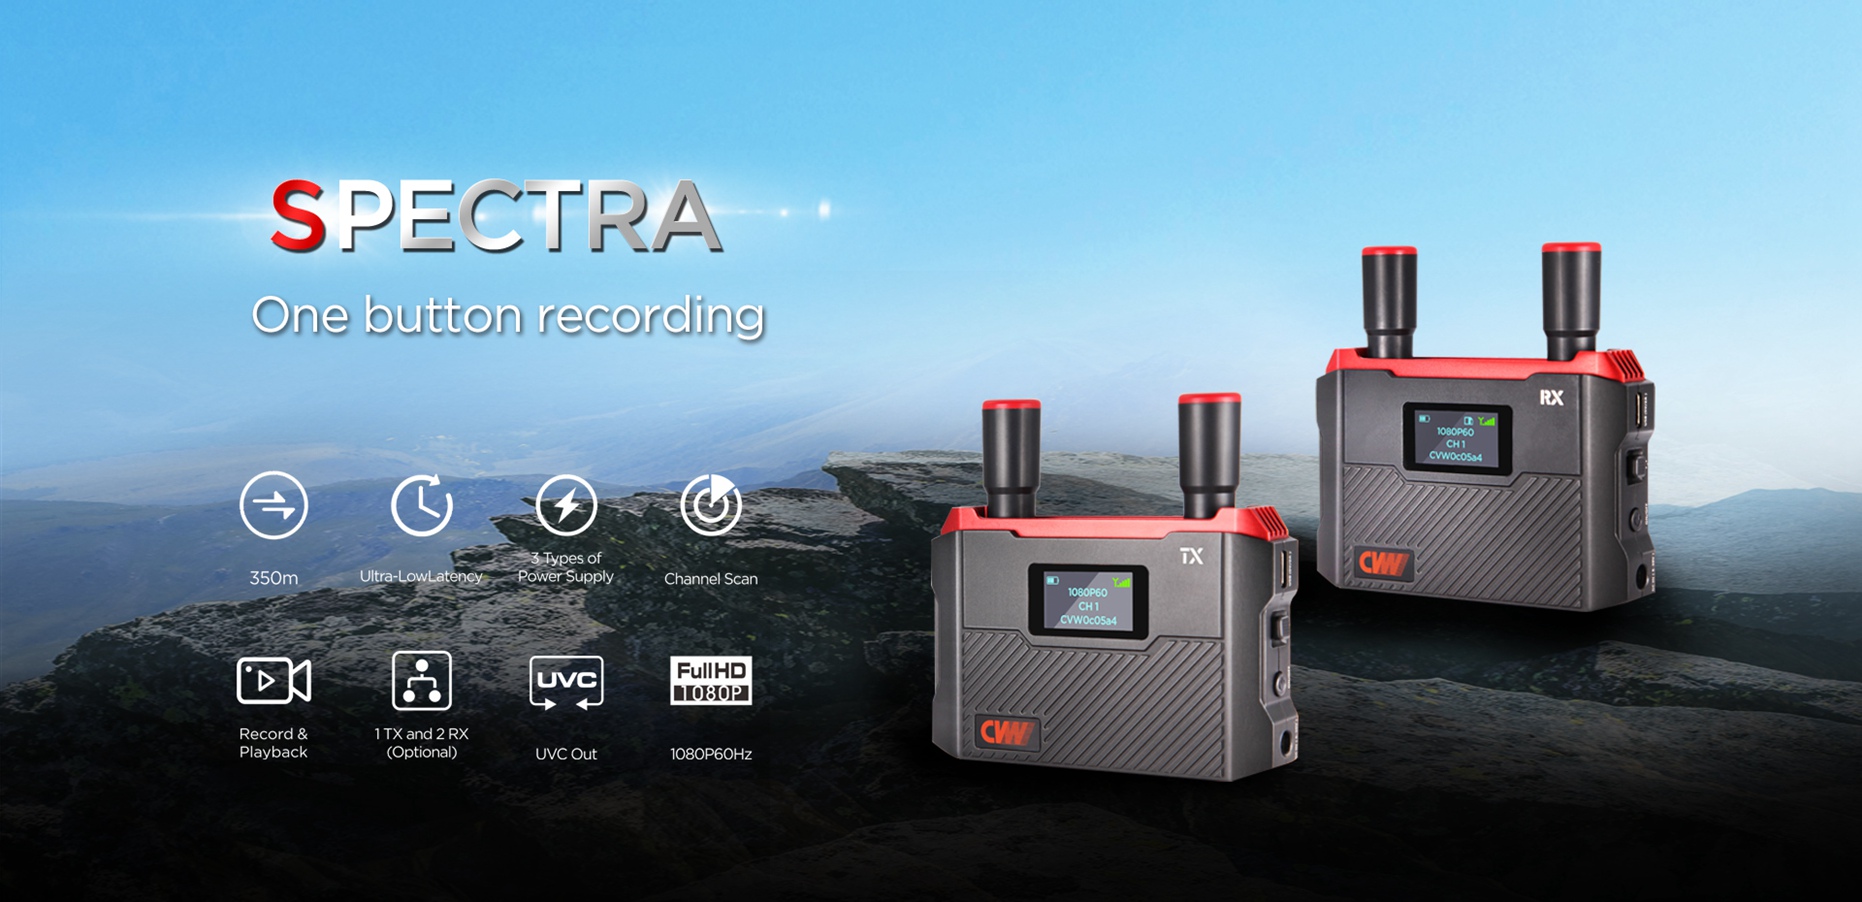
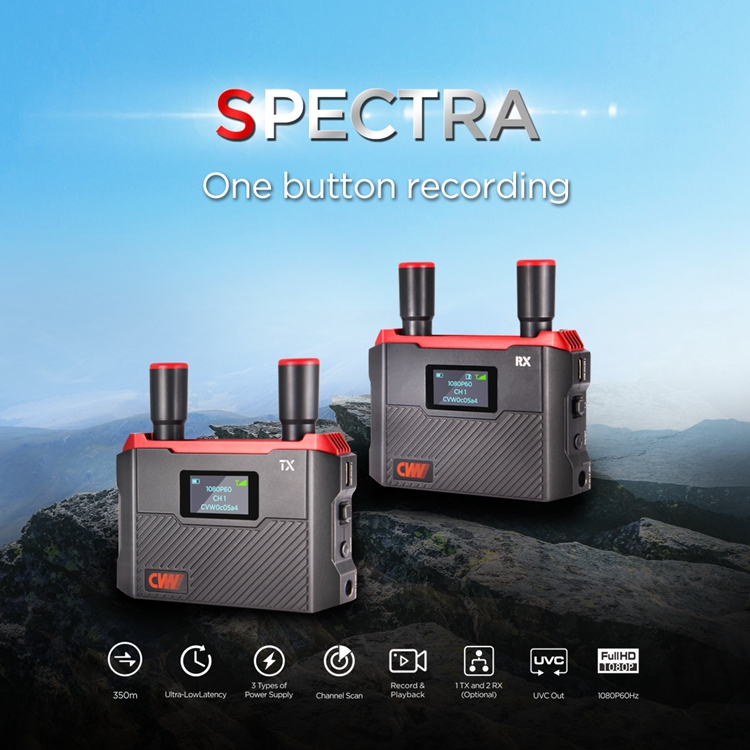
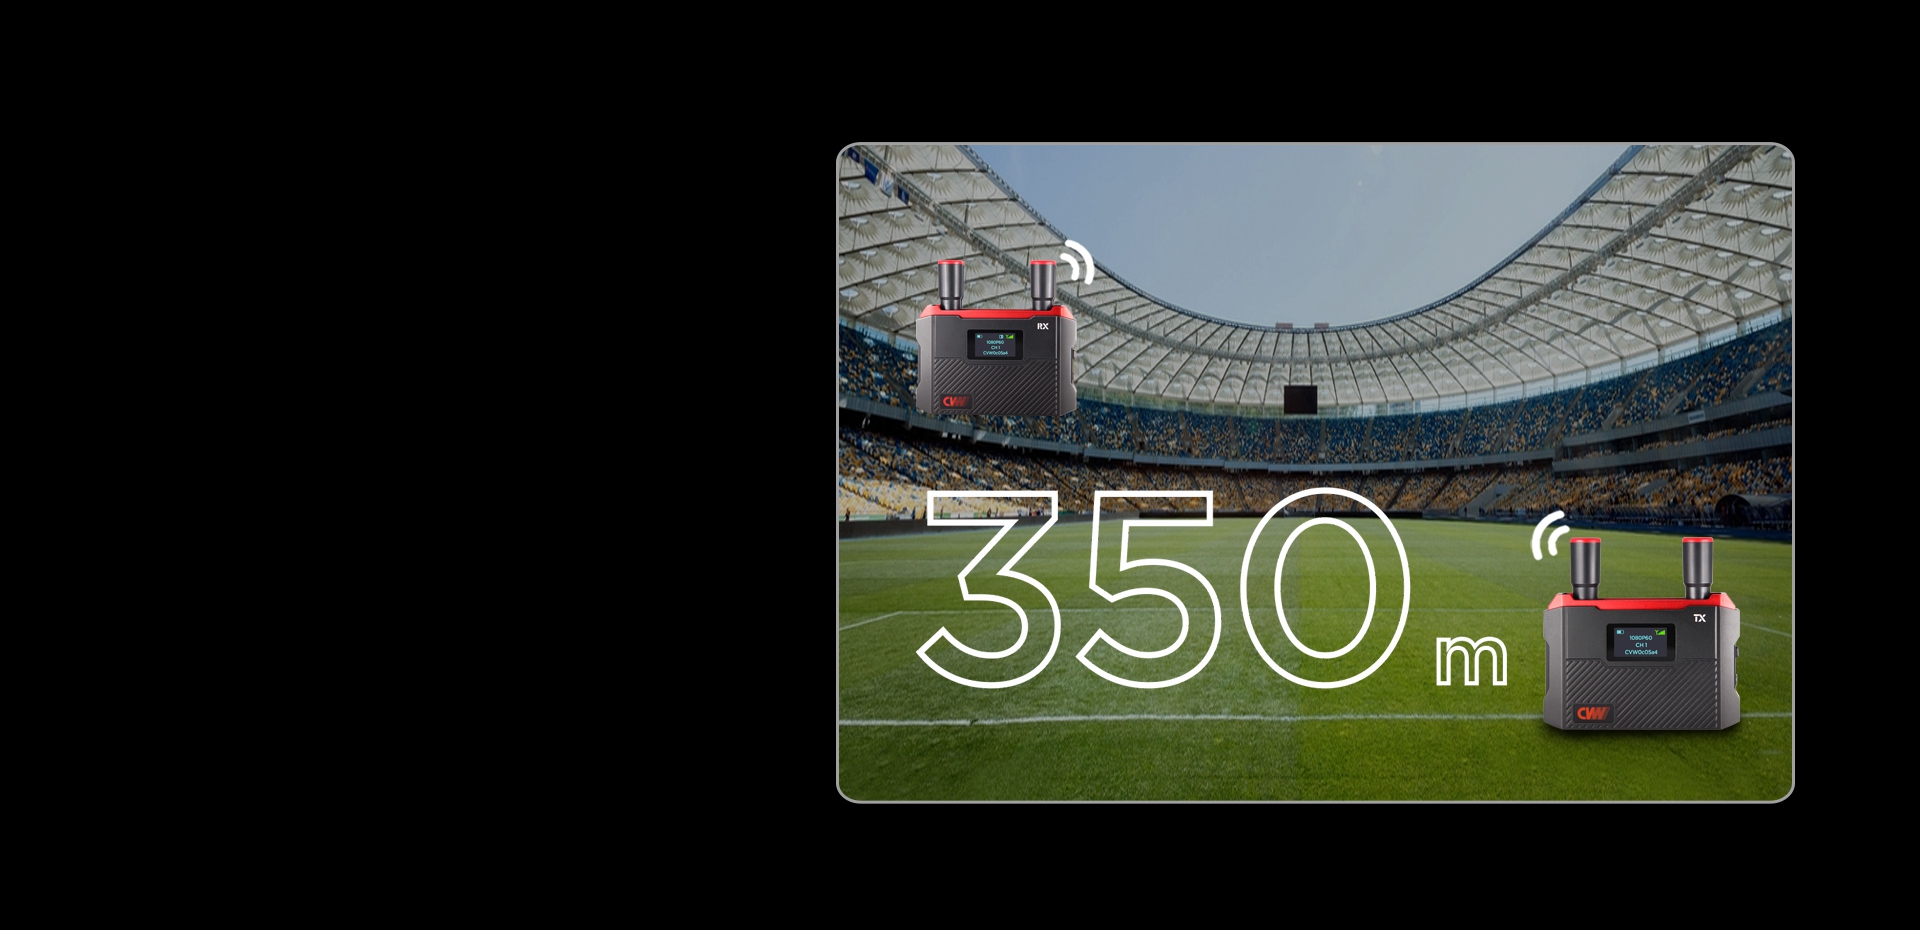
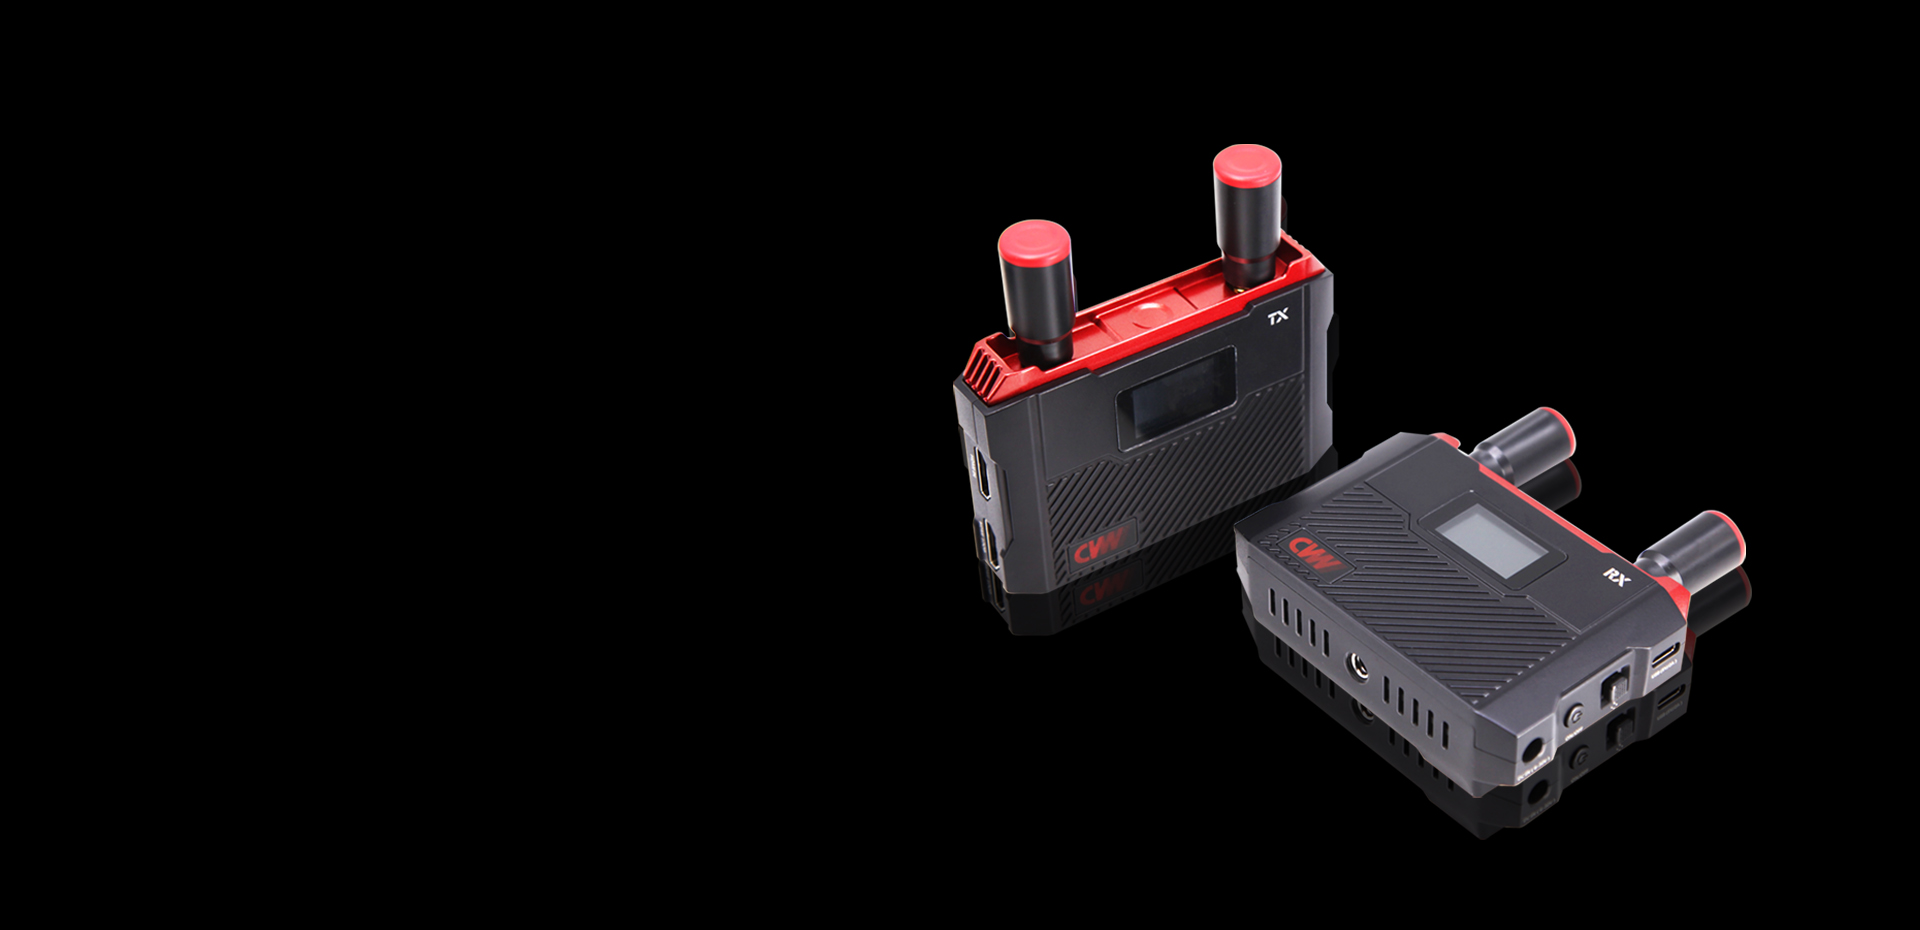
Up to 350 Meters Range
This coverage range is suitable for many
live streaming or shooting scenarios,
including outdoor events, sports, concerts,
and other situations requiring long
distance camera setups.
Efficient channel scan function
Cameraman can swiftly capture excellent moments, ensuring precision and finesse
in every shot.
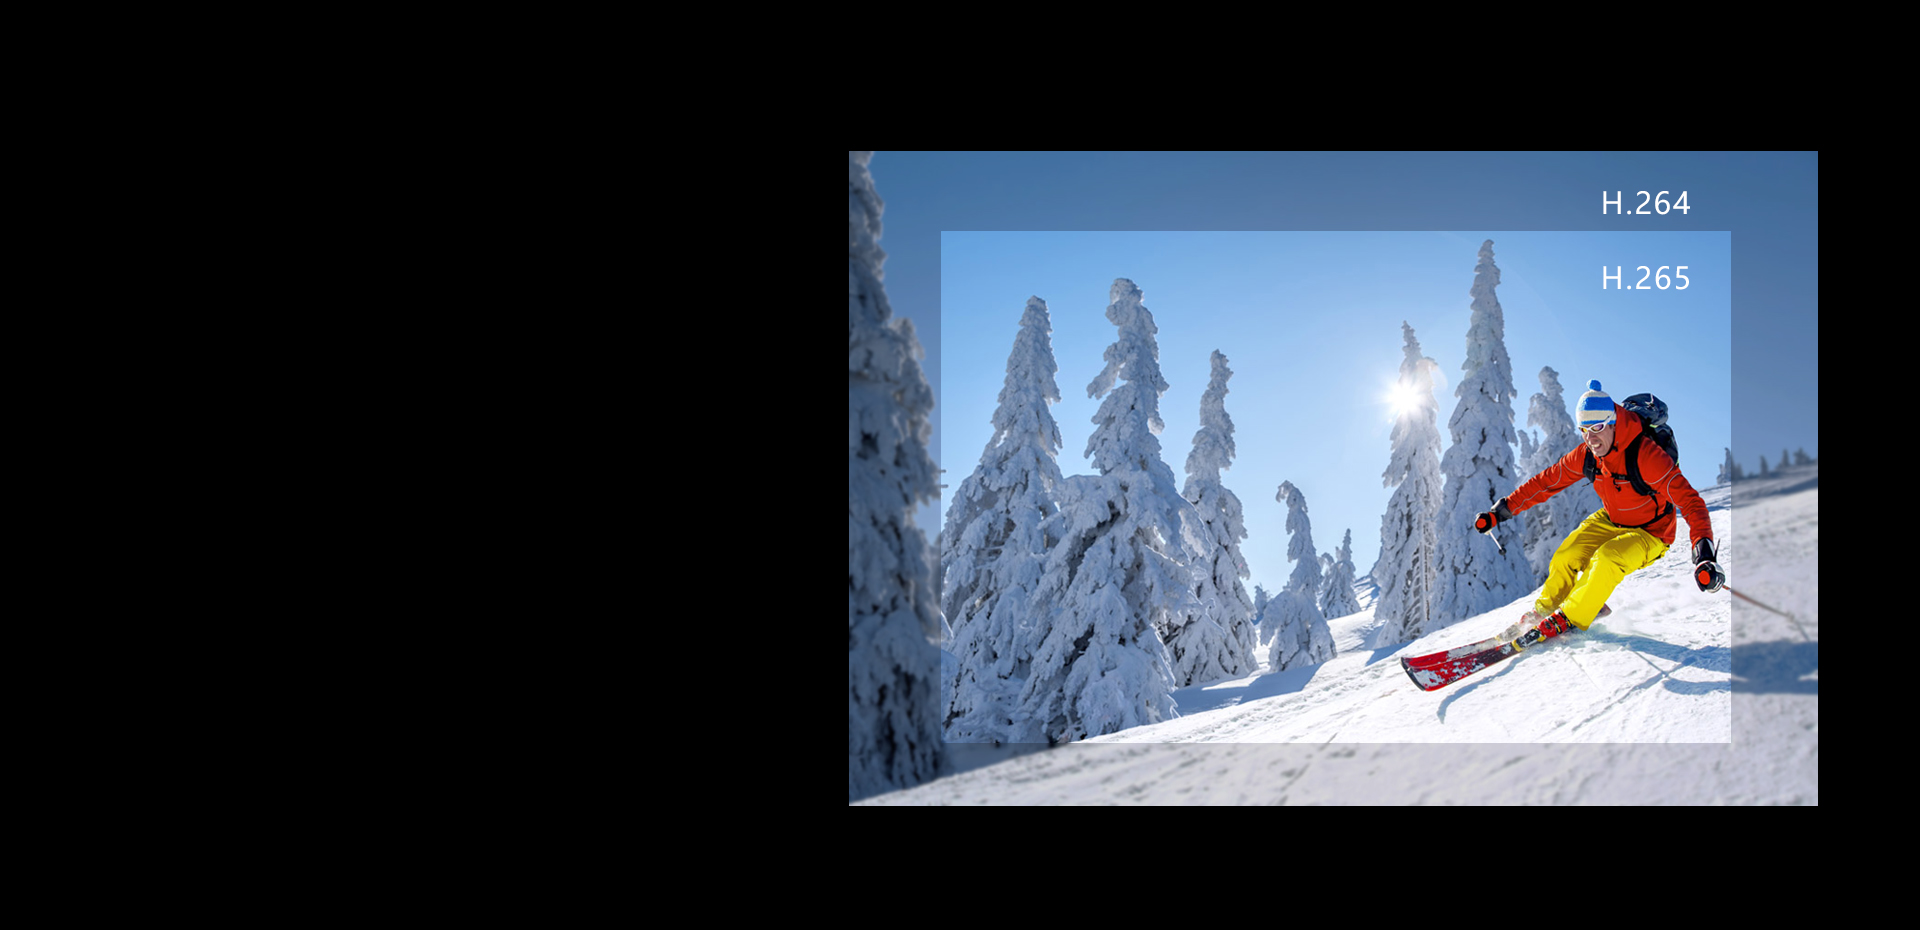
Full HD 1080P60 Video Transmission with H.265 Encoding
The latest H.265 encoding technology
ensures remarkable video quality.
Efficient channel scan function
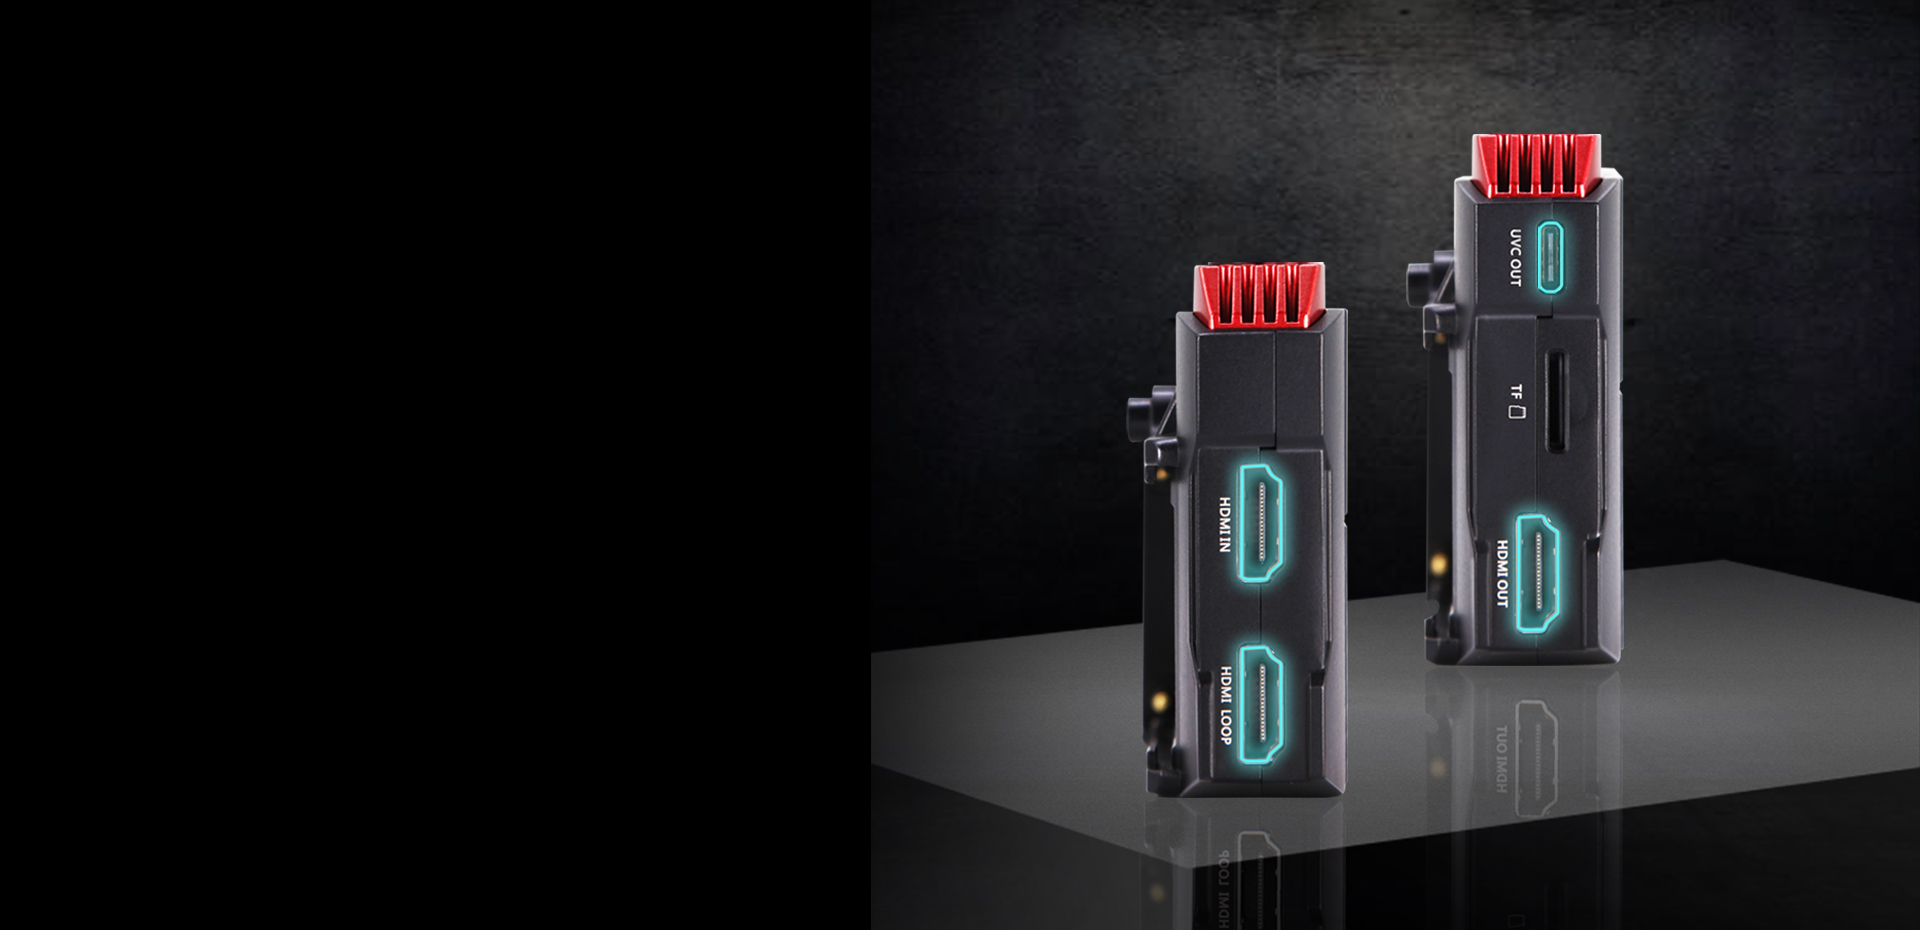
The HDMI input and HDMI loopout offer versatile connectivity options, making it ideal for
budget-friendly camera setups.
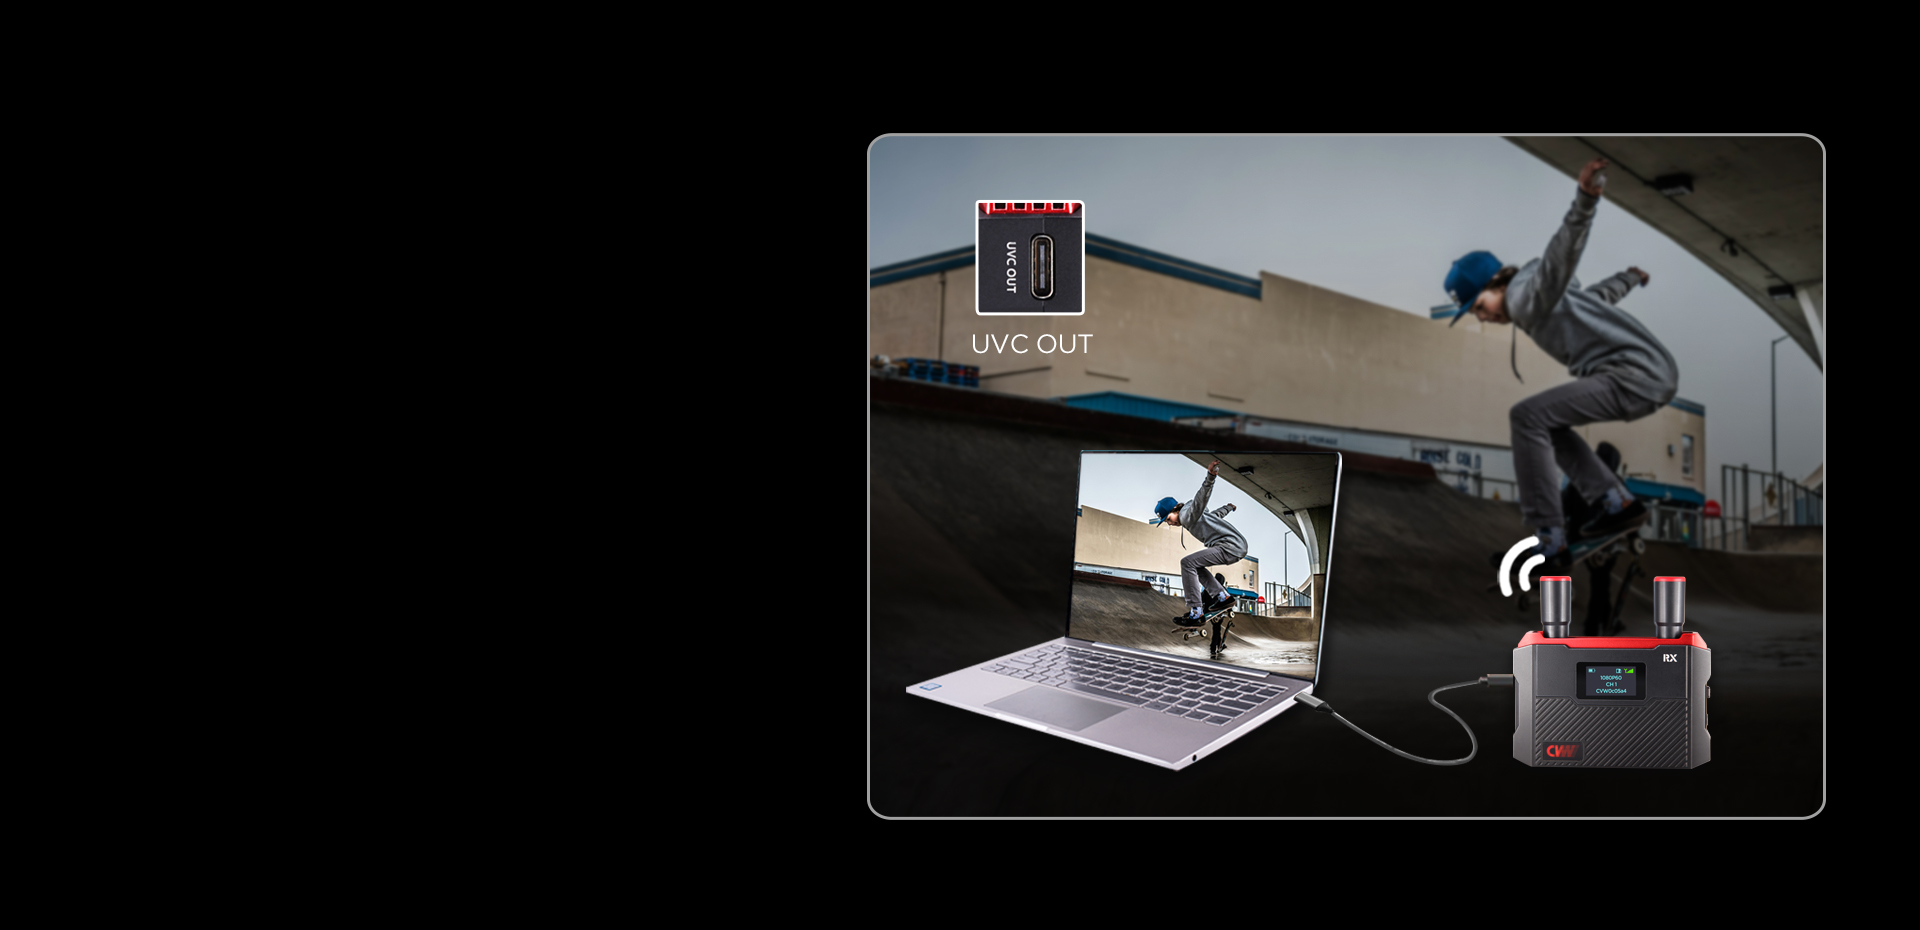
UVC Output - Simplify Live Streaming Without Need of Capture Card
A new UVC output via Type-C connector
allows direct connection of the SPECTRA
receiver to a computer for hassle-free HD
live-streaming. Hugely simplifying the whole
process of going live to YouTube, TikTok
and other RTMP streaming platforms.
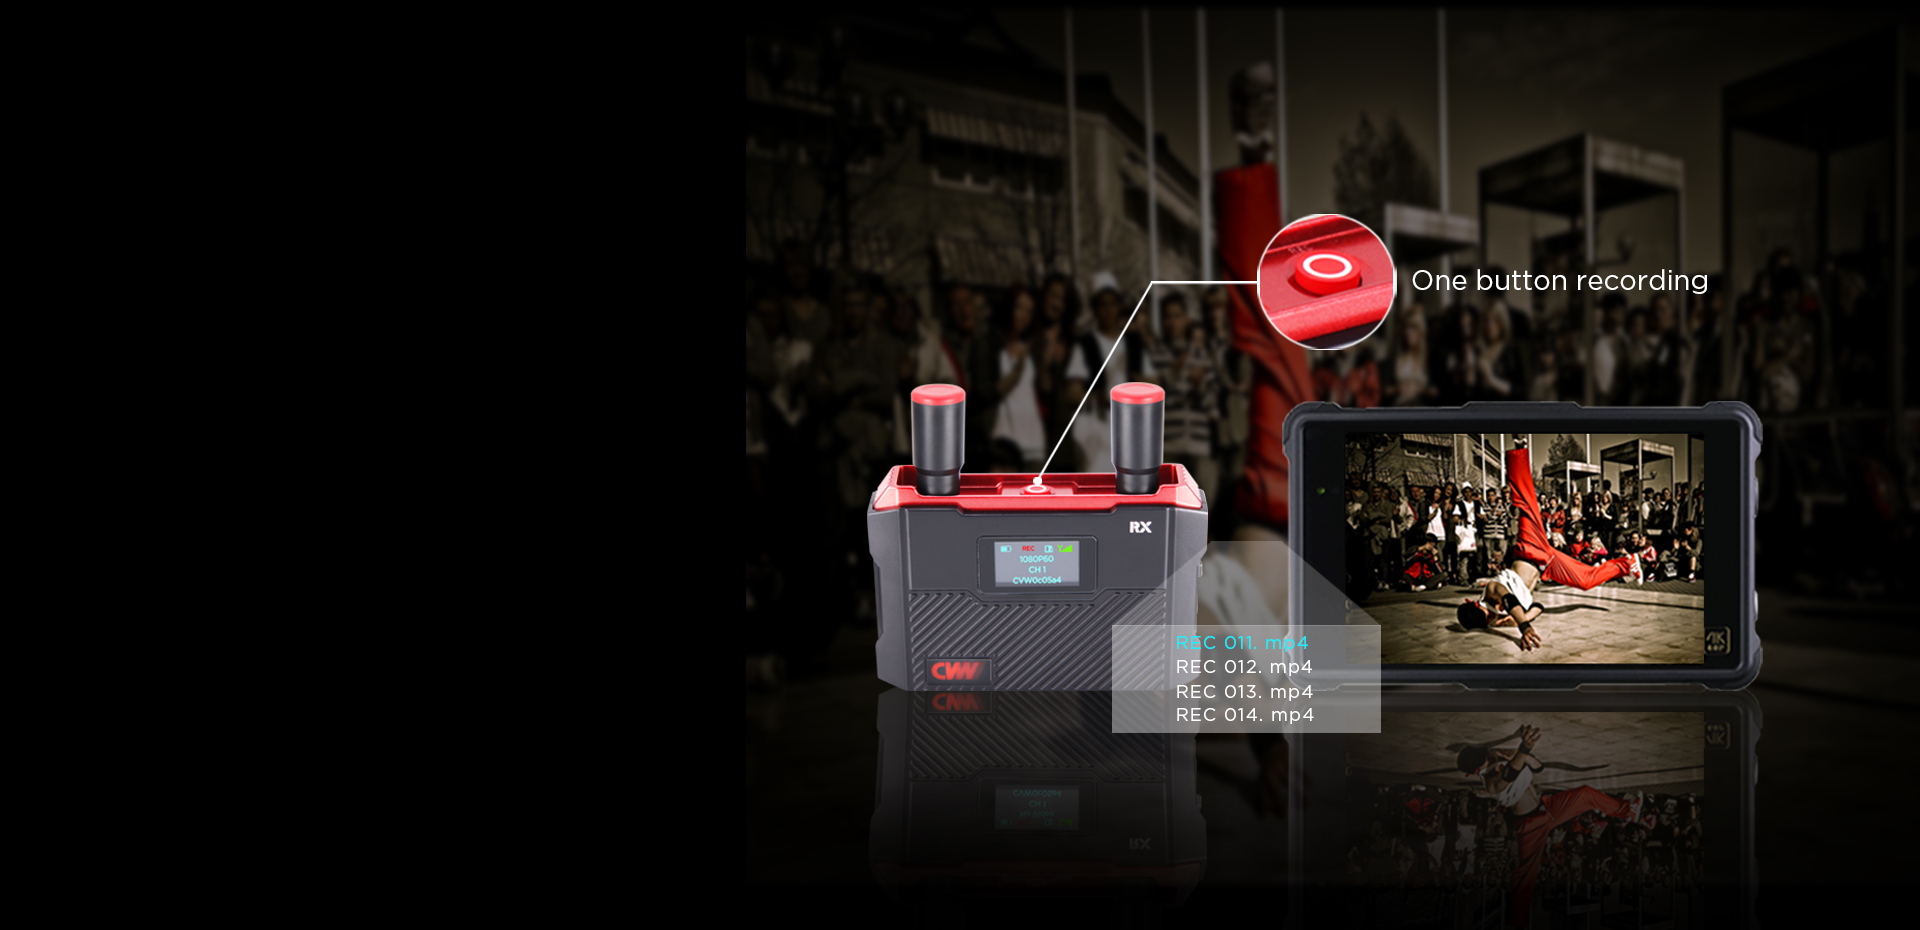
Recording and Playback,
Enhance Post-Production Efficiency
Recording during the shoot saves time in
post-production, offers valuable backup
footage. It also facilitates convenient
playback for review.
Multiple Power Solutions for Better Convenience
Connects to multiple power sources for uninterrupted power supply.
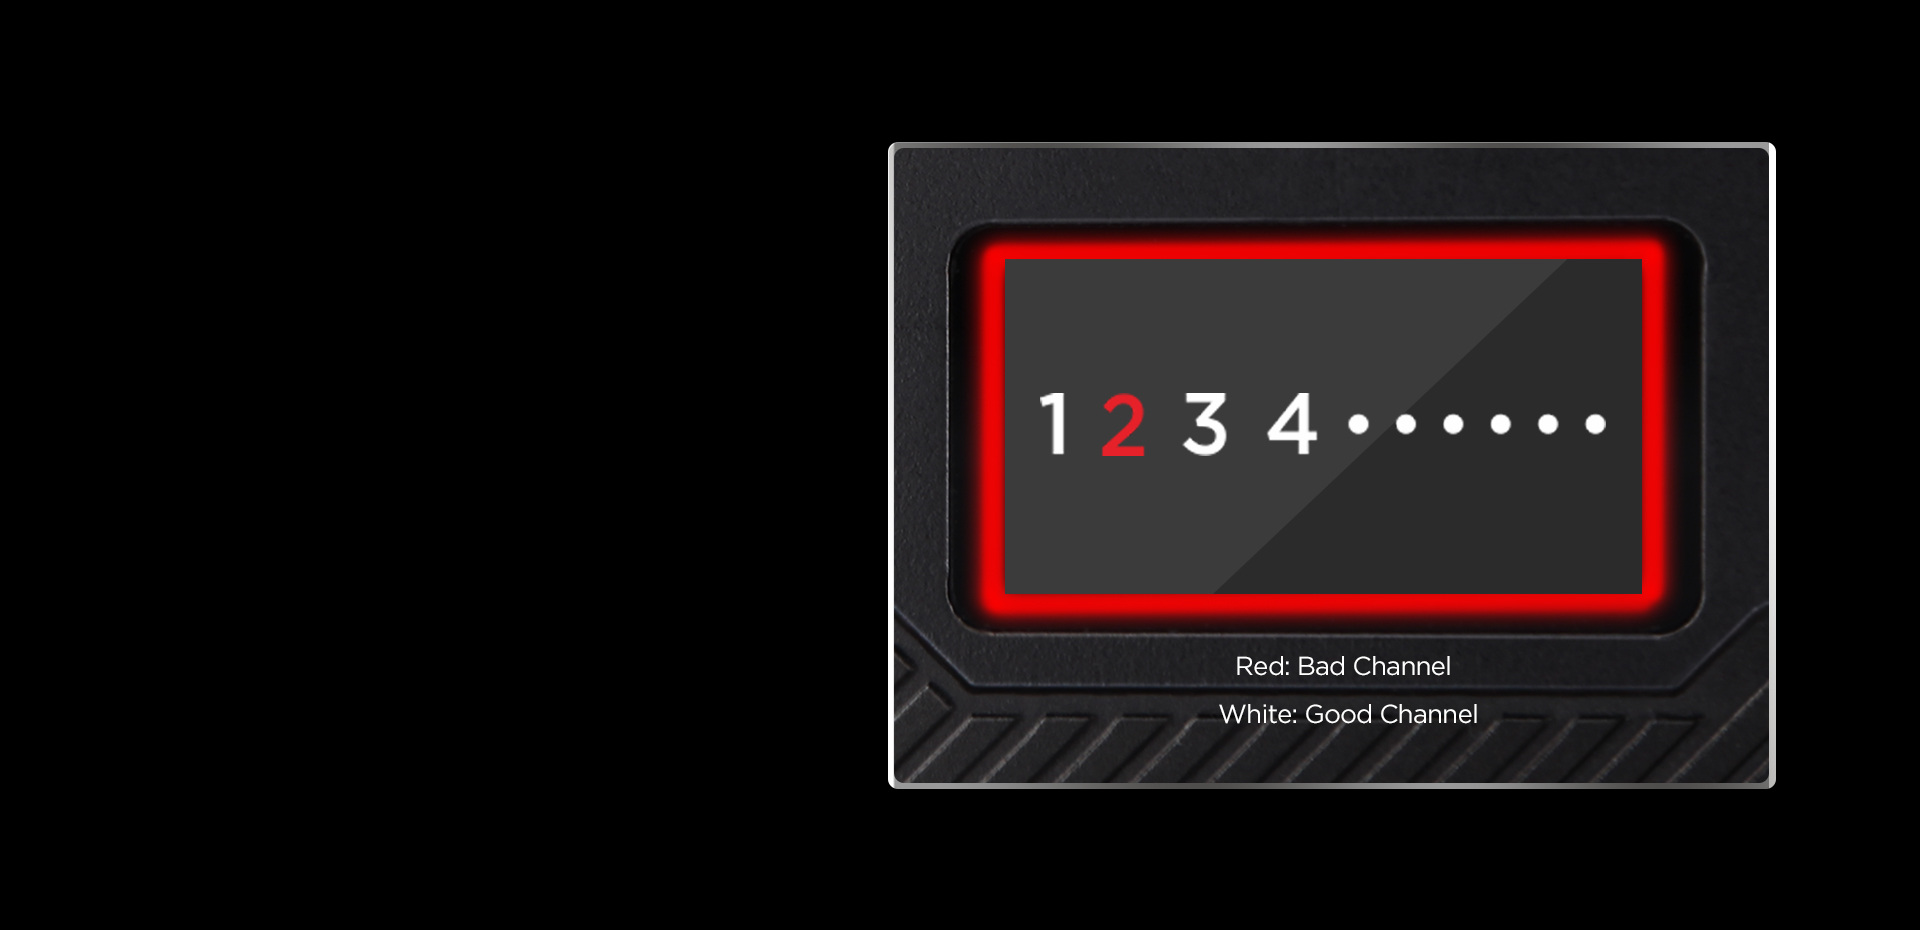
Channel Scan
Manually select the best available channel for
the good wireless video transmission.
* DFS Certification brings better interference immunity.
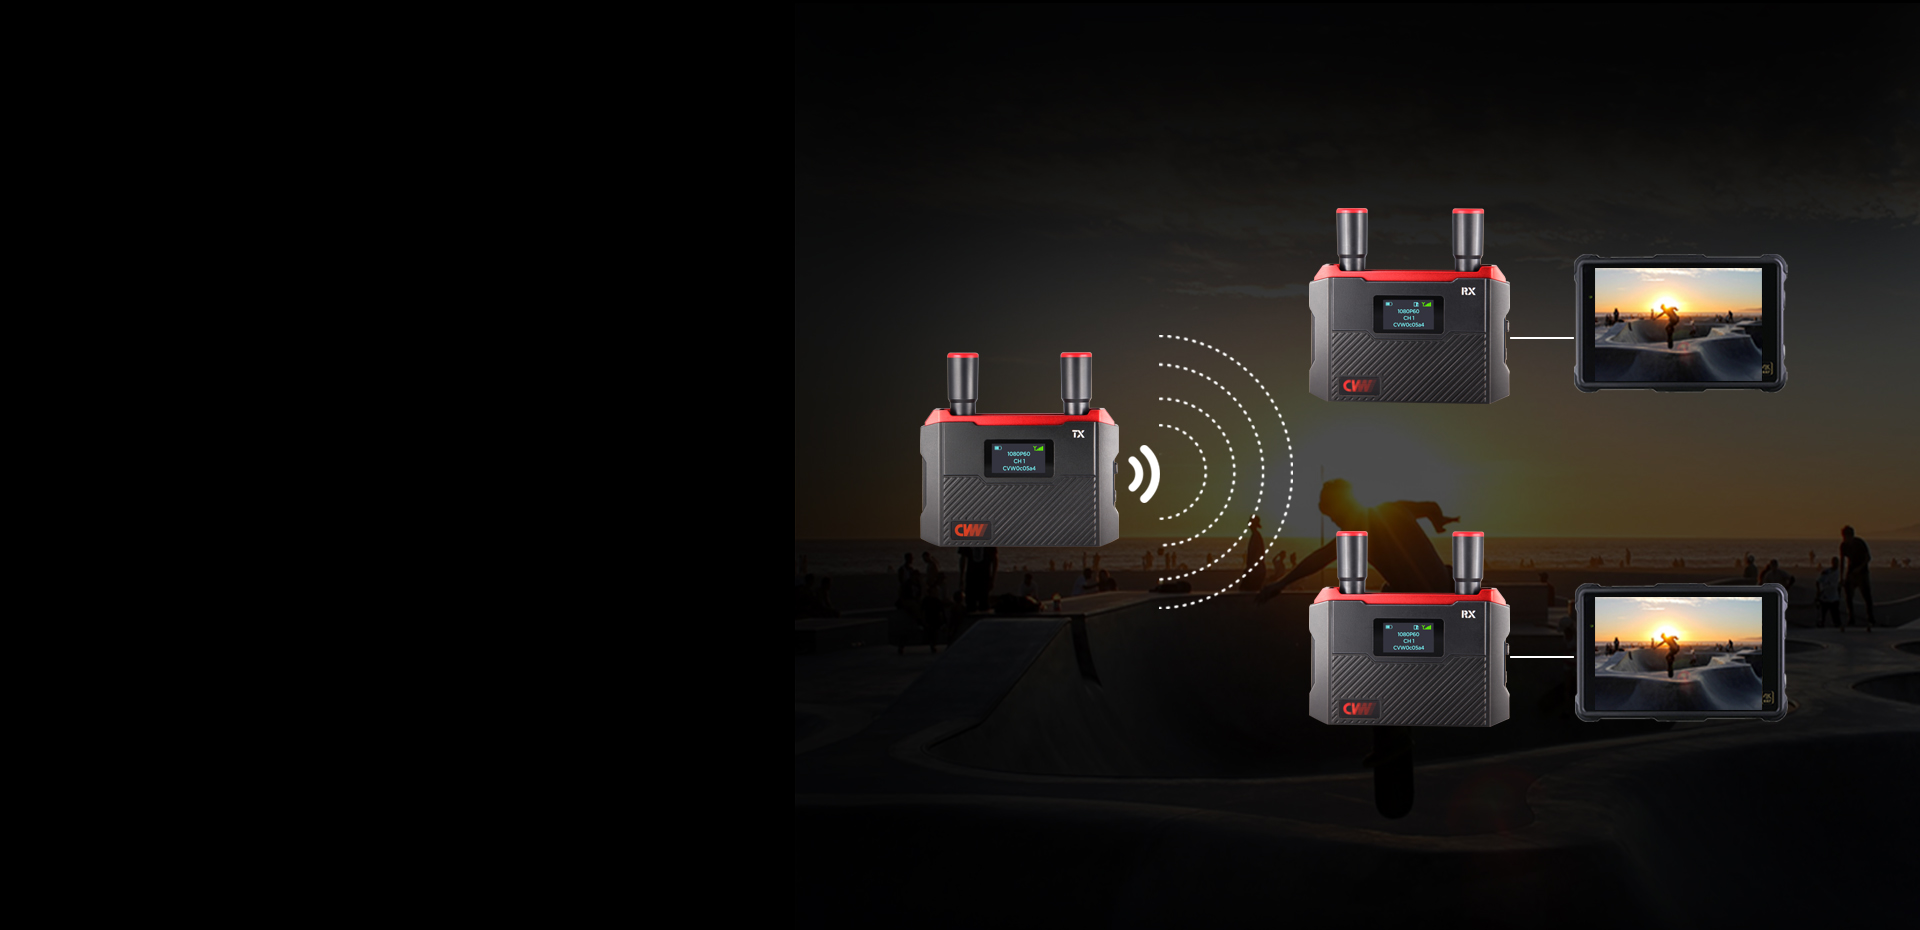
Meet the Demand of 2 Receivers
The transmitter could be connected to two receivers.
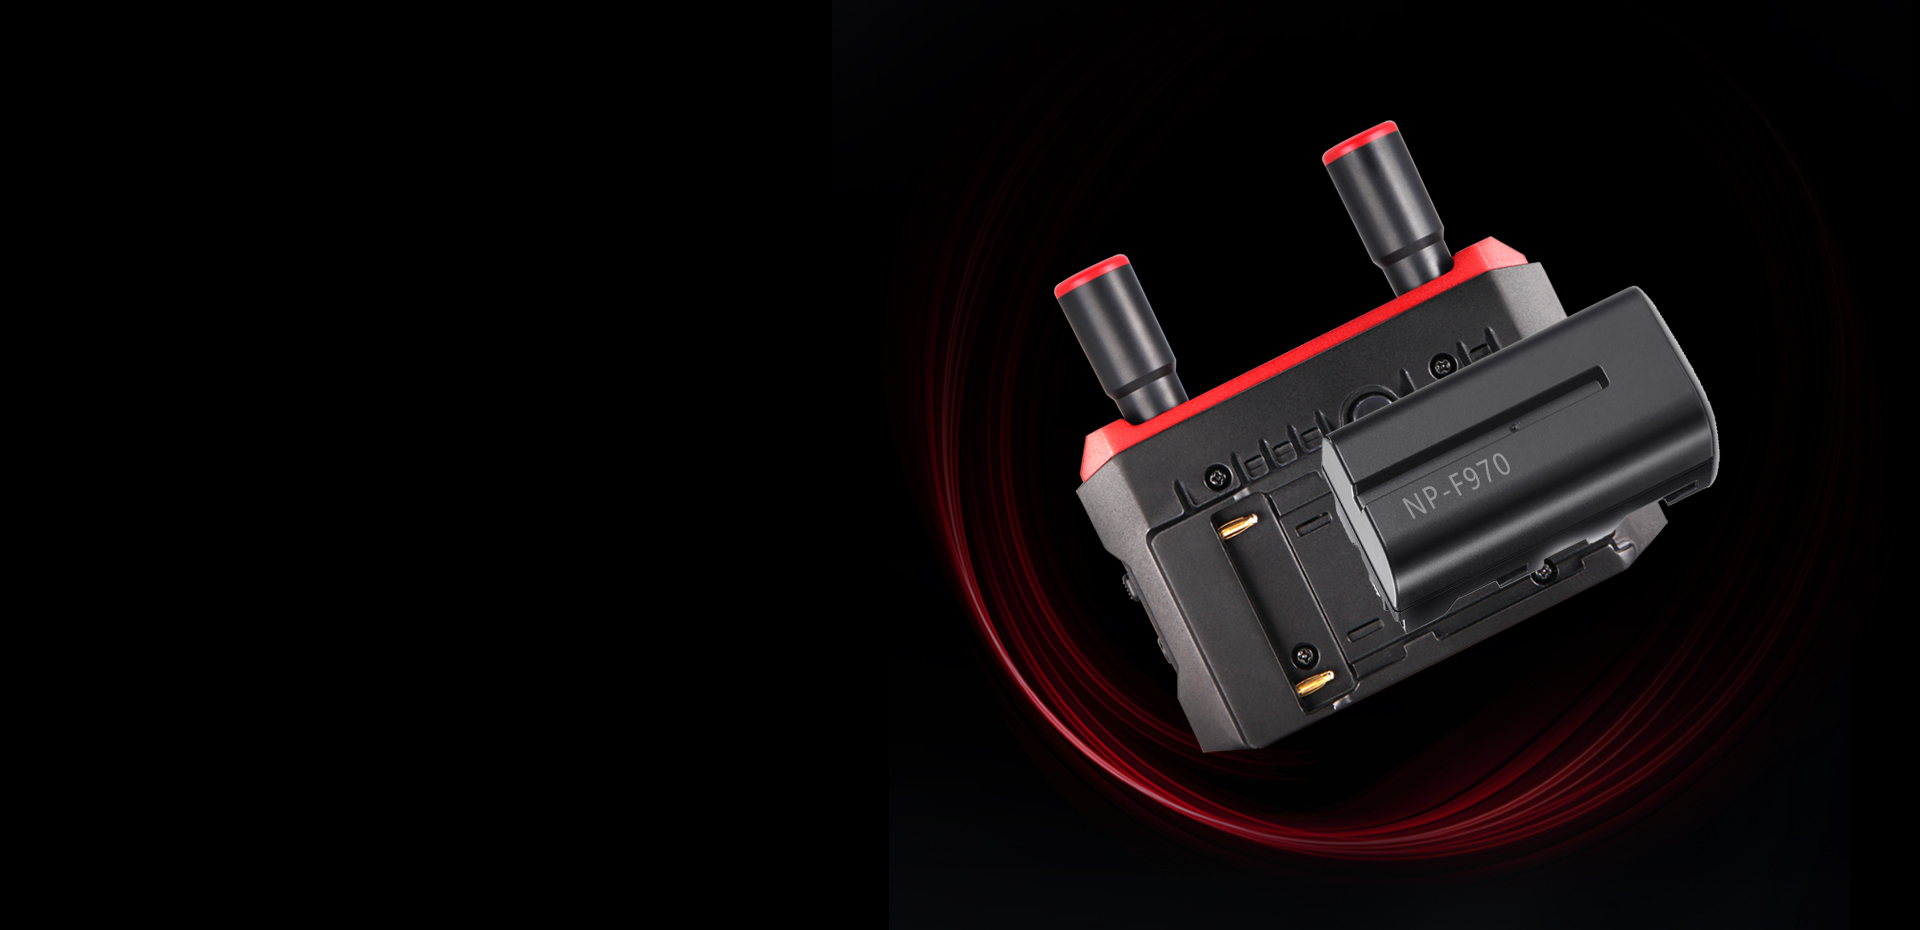
Low Power Consumption, Prolonged Battery Life
Over 12 hours with SONY NP-F970 battery.
Fanless Design
By eliminating background noise caused by fan running, thus enhancing the overall audio quality of the shooting process.
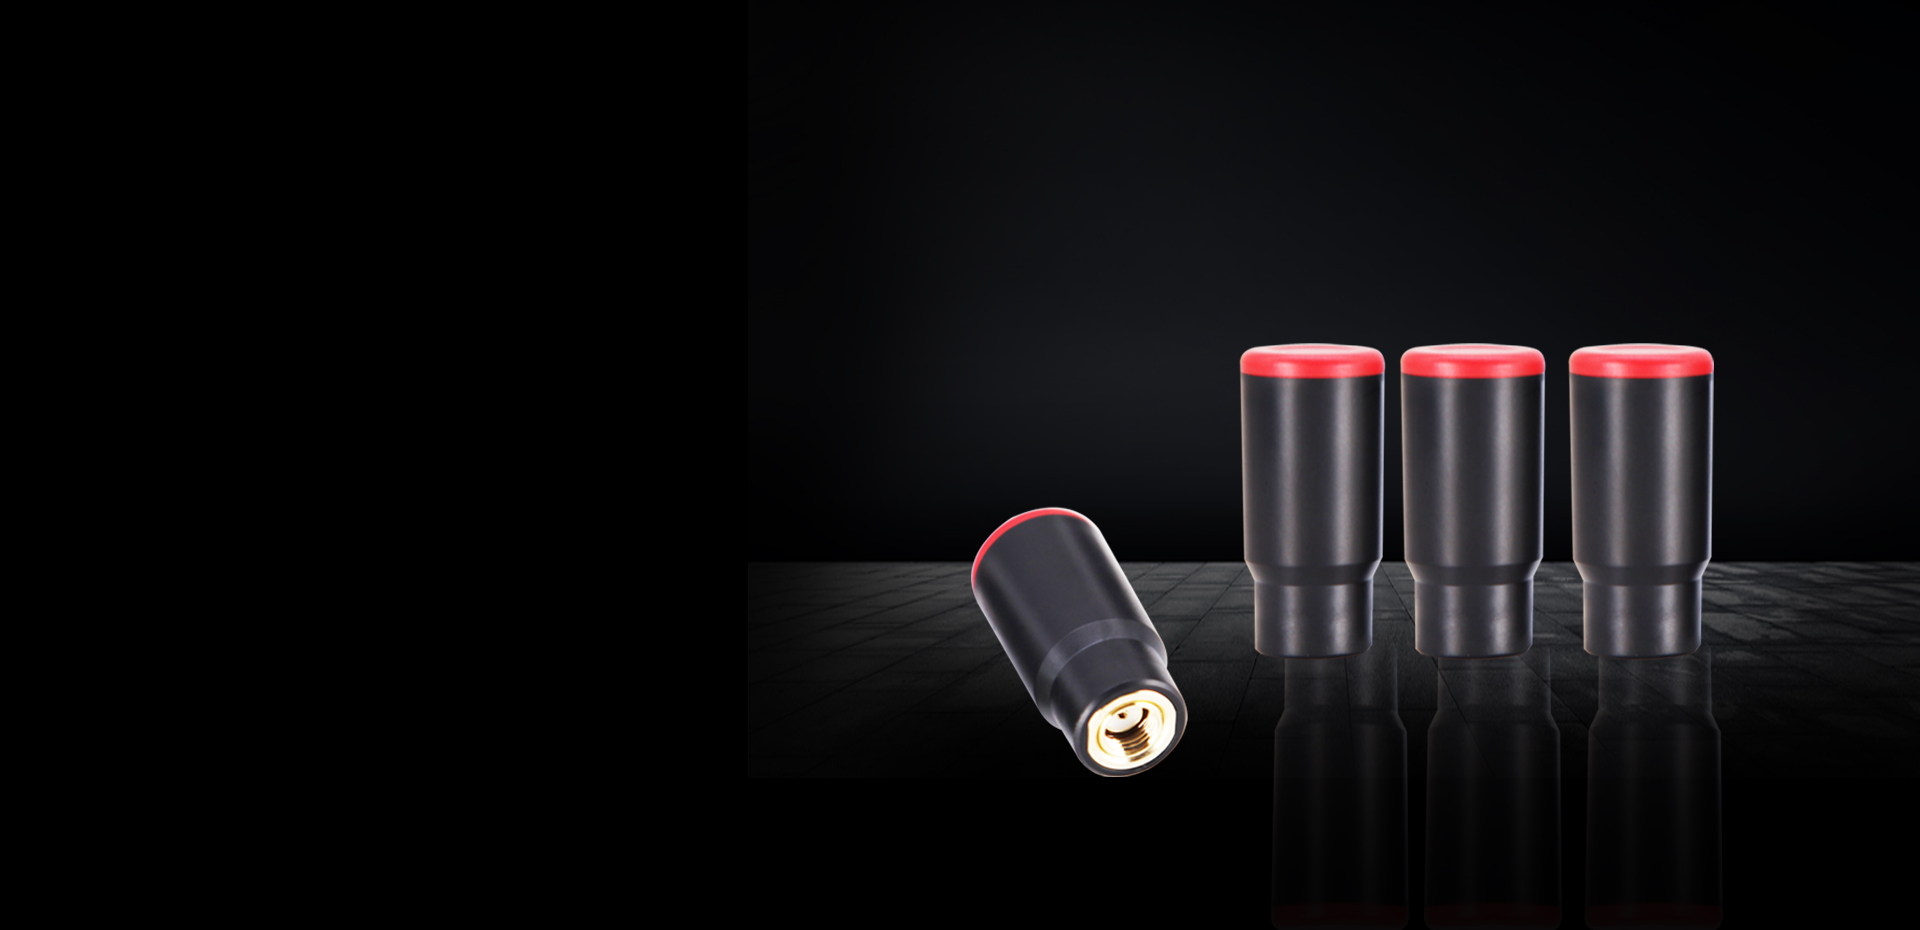
Customized Compact Antennas
The antenna features 360° omni-directional radiation, delivering strong signal transmission.
Fixed antennas simplified the system set up.
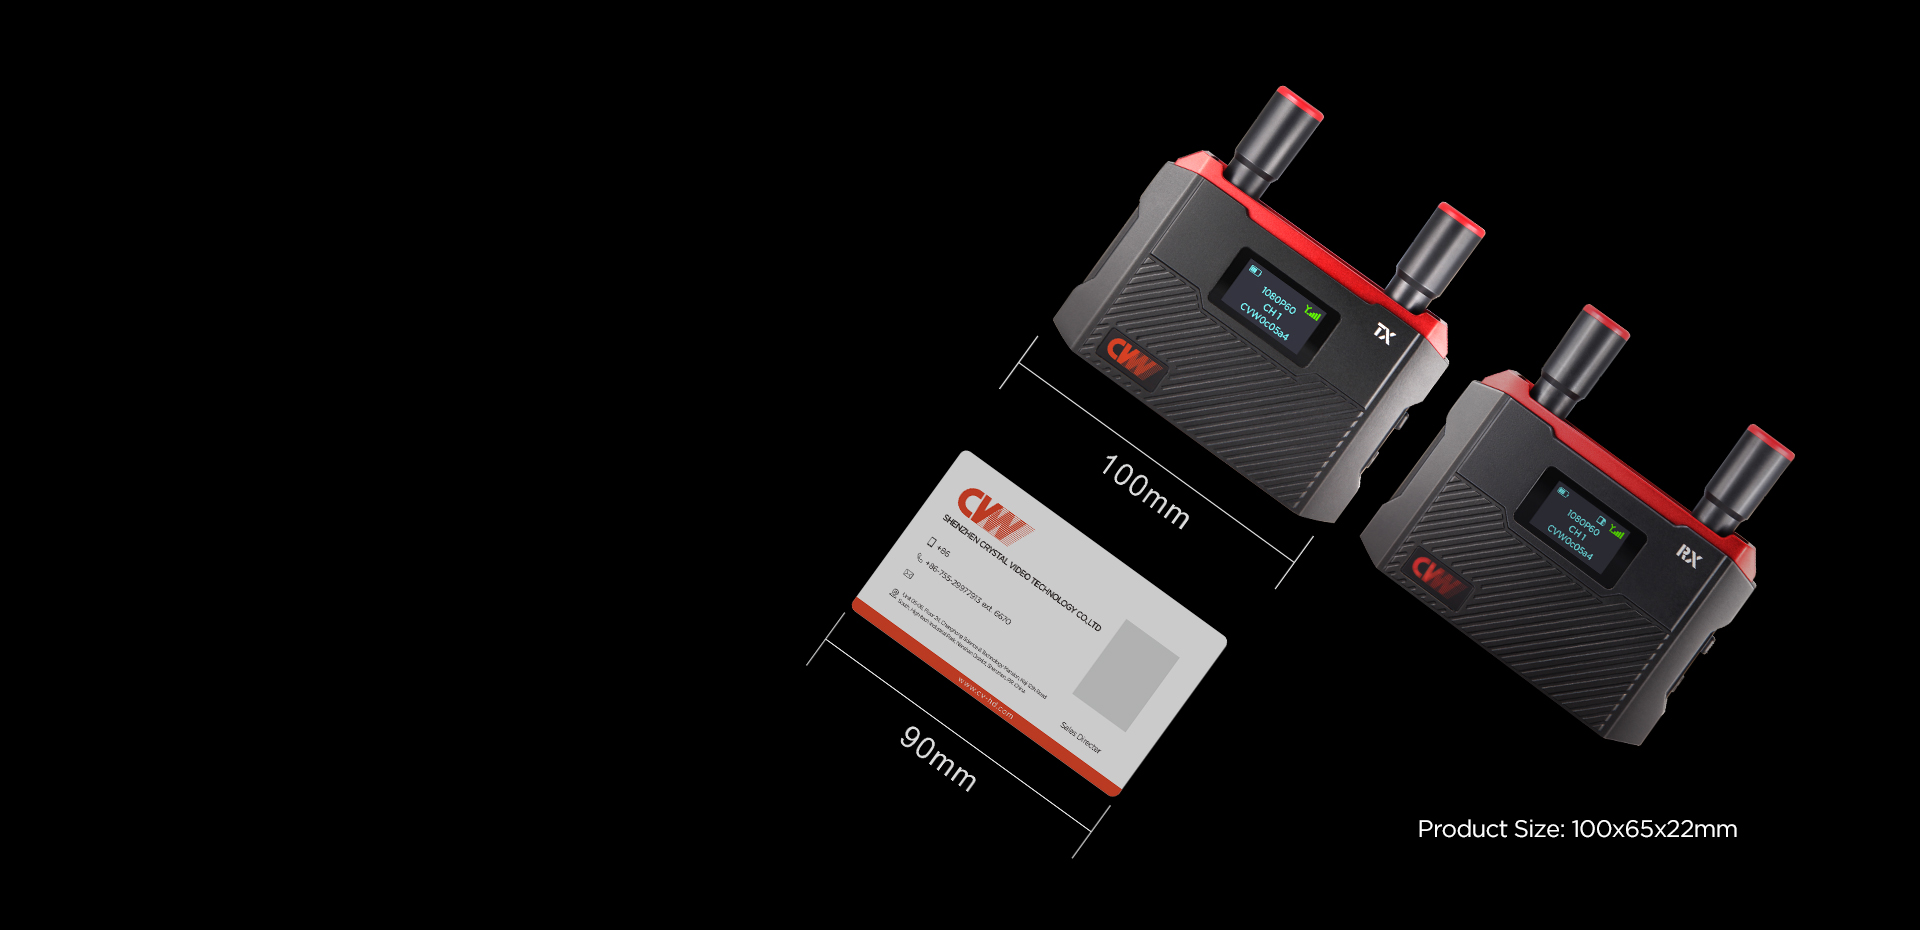
Convenient Pocket Size Design
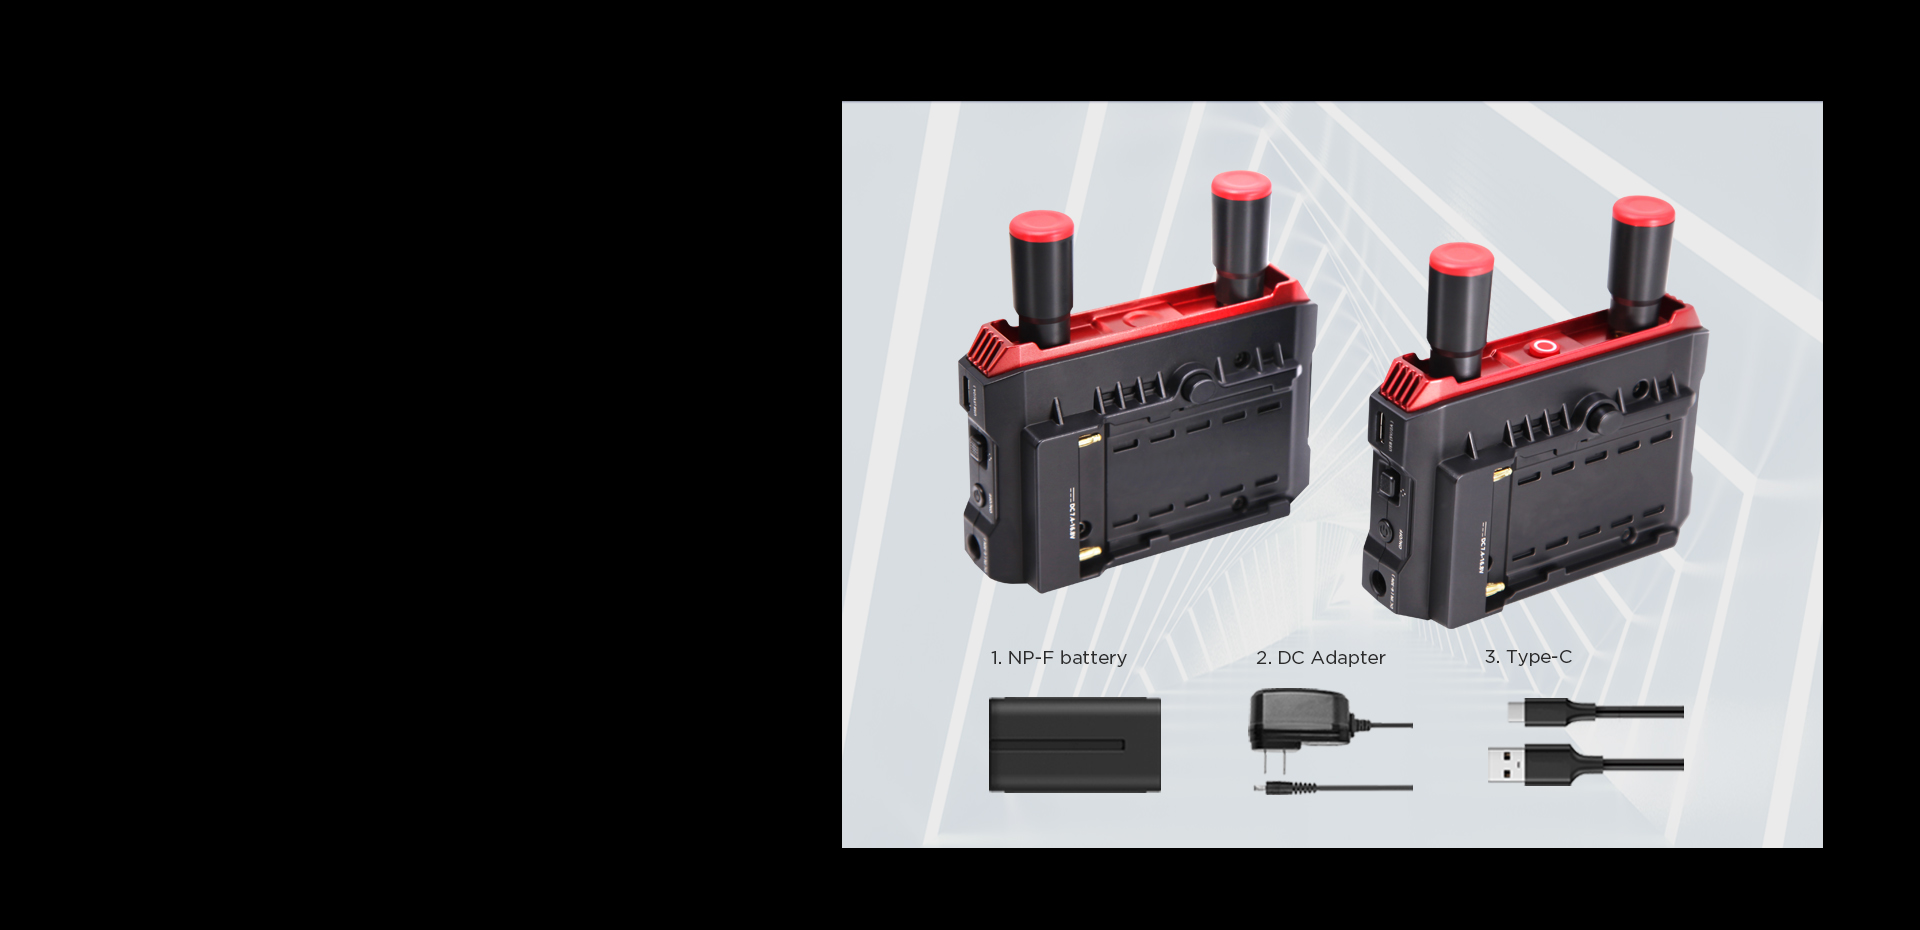
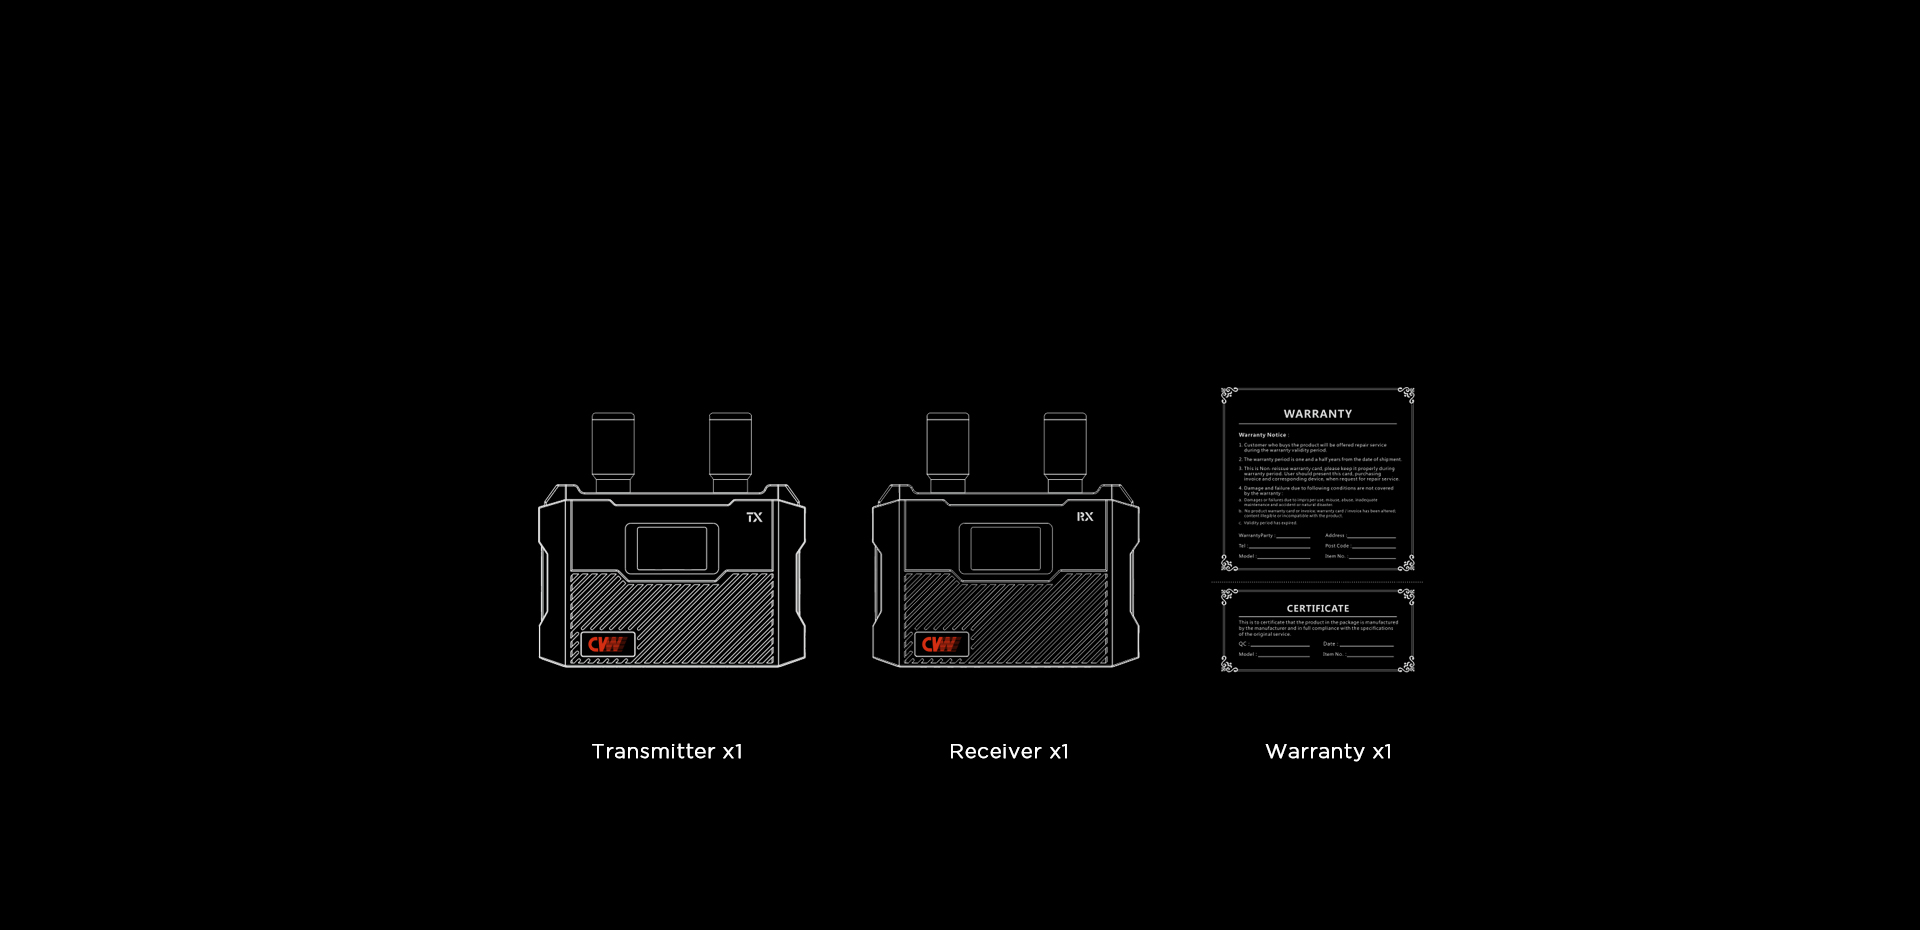
Packing List
1. Check whether the other end of the device has power on; 2. Pairing operation; 3. Shorten the distance between the two devices; 3. If this condition still exists, please restart the device power.
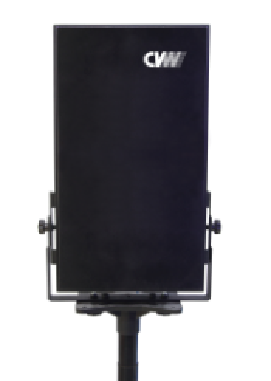
You can use CVW panel antenna to extend its transmission range. A panel antenna is a type of directional antenna, which can be used to extend the system’s transmission range, but the trade-off is that the panel antenna has a transmission angle of 45 degrees.
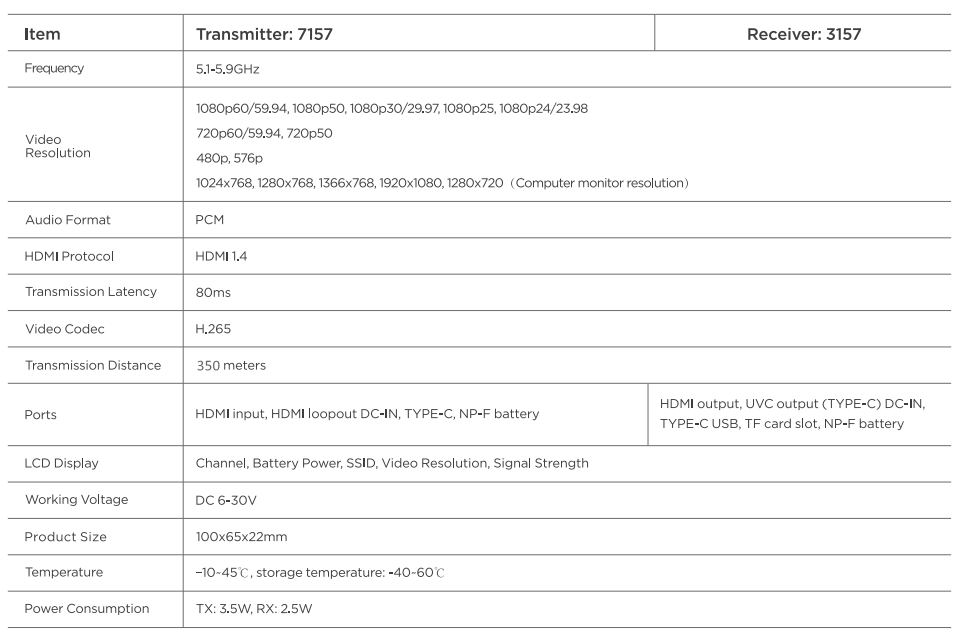
5.1-5.9GHZ (CH1-5.19G, CH2-5.23G, CH3-5.27G, CH4-5.31G, CH5-5.51G, CH6-5.55G, CH7-5.59G, CH8-5.63G, CH9-5.67G, CH10-5.755G, CH11-5.795G).
1. When one system is in use, it is recommended to set the channel at CH5-CH9. Because in most Wi-Fi coverage environments, the high and low frequency is mostly used, while somewhere between is rarely. The middle frequencies have low occupancy rates, which effectively avoids co-channel interference. Once the channel scanning function is enabled, it could quickly help to select the best possible channel from the available channel list.
2. When two systems are used simultaneously, the receivers must be placed at least 1 meter. Once the 80MHz operating mode is enabled, system one is set at CH5, and system two must be set at CH7, CH8, or CH9. It is recommended to keep them at least one channel apart. Once the channel scanning function is enabled, it could quickly help to select the best possible channel from the available channel list.
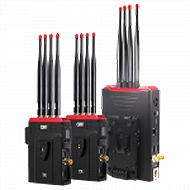
3. When multiple systems are used simultaneously, the receivers must be placed at least 1 meter apart. Once the 80MHz operating mode is enabled, system one is set at CH5, system two is set at CH7, and system three is at CH9. It is recommended to keep them at least one channel apart. Once the channel scanning function is enabled, it could quickly help to select the best possible channel from the available channel list.
The HDMI cable has not been firmly plugged in the transmitter or receiver’s HDMI port or has not been firmly plugged in the camera’s HDMI port. Please unplug and plug the HDMI cable or change it to another HDMI cable.
Please confirm if the transmitter and receiver’s OLED screen displays the signal icon and the word ”VIDEO”. If there is no signal icon, it indicates that the network is not connected. please refer to the first problem’s solution of troubleshooting. If there is a signal icon, but the transmitter’s OLED screen does not display the word “VIDEO”, please check the video source and the connected SDI/HDMI cable. If the transmitter and receiver have a signal icon and a word “VIDEO”, but the switch console displays nothing, please check the SDI/HDMI cable that is connected to the switch console, and change the camera’s video output resolution to 1080i50 or 720p50, then test it. In addition, connect the receiver to other monitor with the SDI/HDMI cable to test them.
Suppose the monitor displays a black screen through receiver output after switching the video source’s video resolution. Please unplug and plug the transmitter or receiver’s HDMI cable. If unplugging and plugging an HDMI cable does not make the system work normally, please restart the transmitter and receiver.
1. In short-distance situations, please ensure that the transmitter and receiver’s antennas are already fully installed, then you must place them 5 meters. With LNA mode being set at low gain mode, (OLED screen displays the letter “L”, meaning it is in low gain mode) and when multiple transmitters are used simultaneously, please ensure that the transmitters are at least 1 meter apart.
2. In long-distance situations, the transmitter is set up on a camera or handle, it should be set up at 1.5-2 meters above the ground, and the cameraman’s body should not obstruct the antenna’s cylinder. The receiver should be set up at least 2 meters above the The transmission is optimal when the antennas are arranged to be fan-shaped and have a clear line of sight. With LNA mode being set at high gain mode (OLED screen does not display the letter “L”, meaning it is in high gain mode) and when multiple transmitters are used simultaneously, please ensure that the transmitters are at least 2 meters apart.
3. Please set the working channel between CH5 to CH9.
4. Re-pairing the transmitter and receiver. A. Long press the WPS button for 3 seconds. “WPS” will be displayed on the transmitter and receiver’s OLED screen. When they build the connection successfully, the signal strength will be showed. B. If they failed to pairing, please change to other environments to try.