EN CN

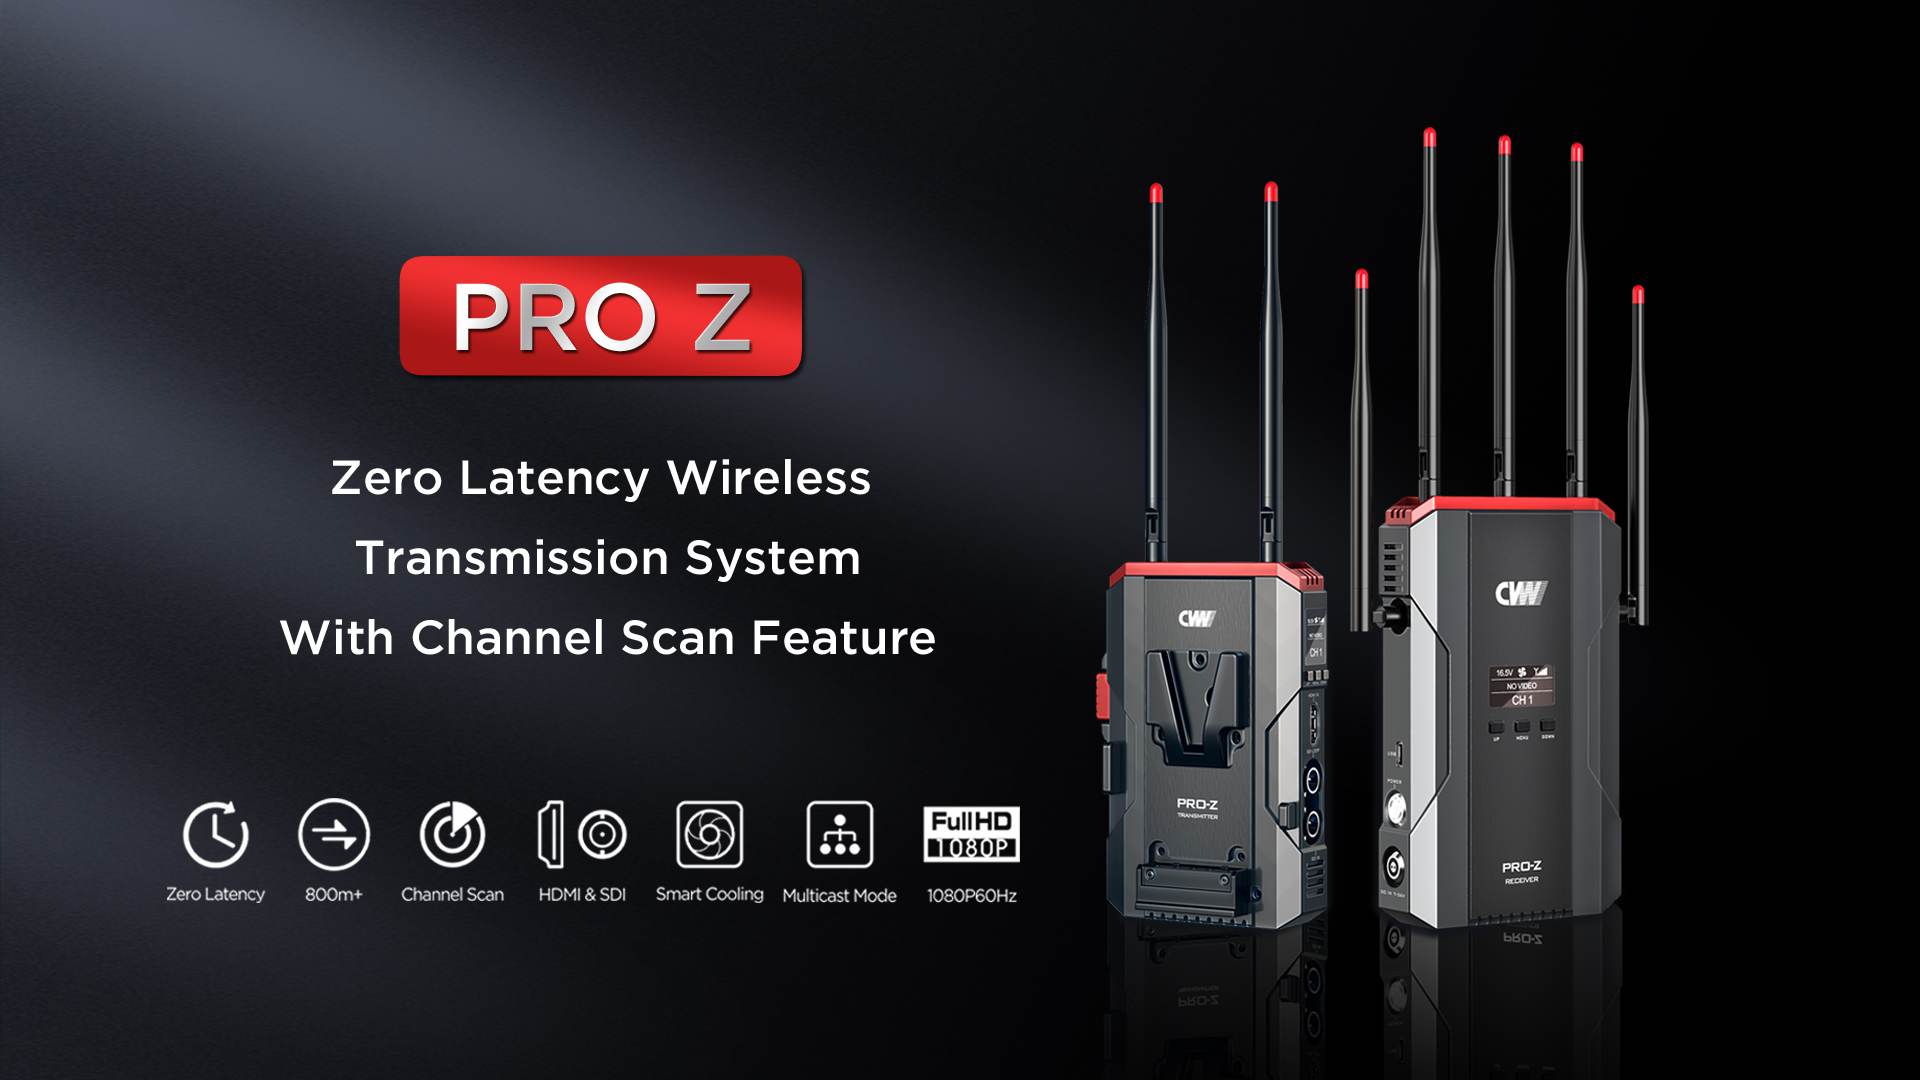
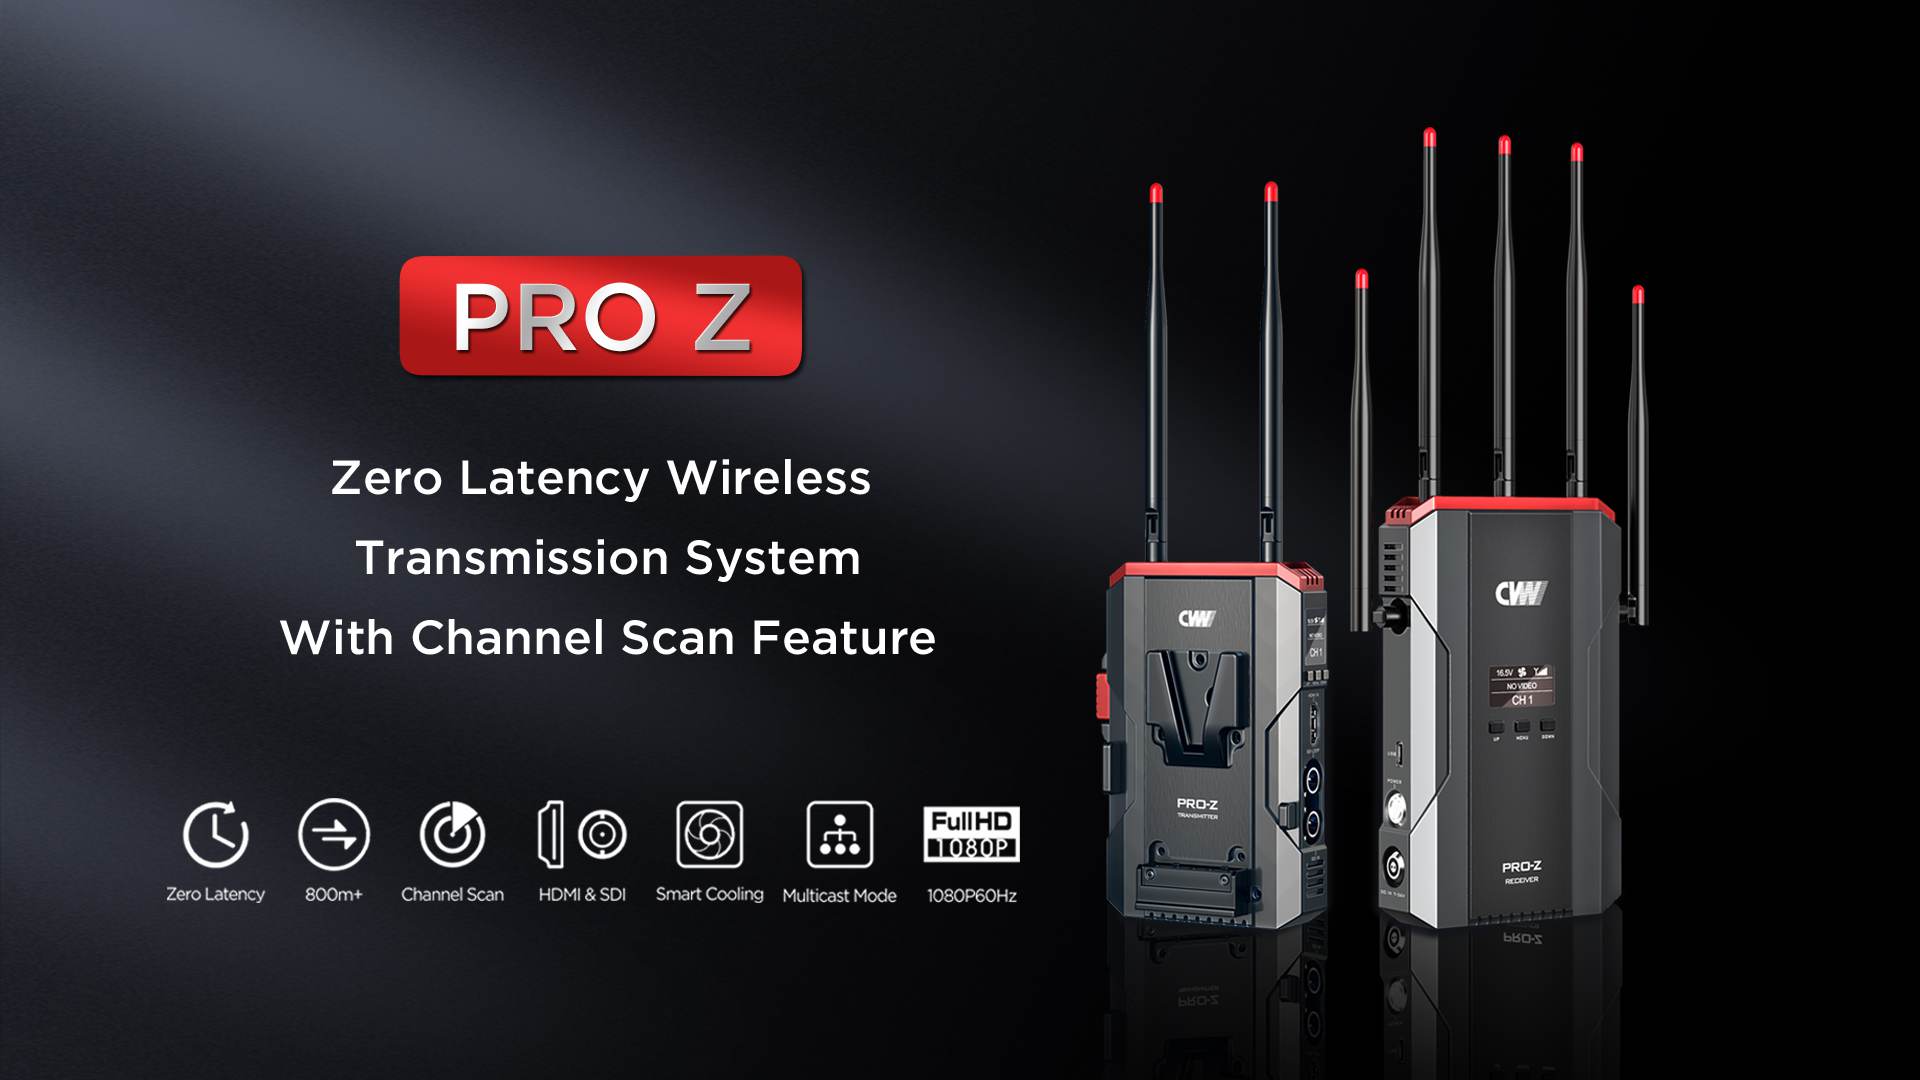
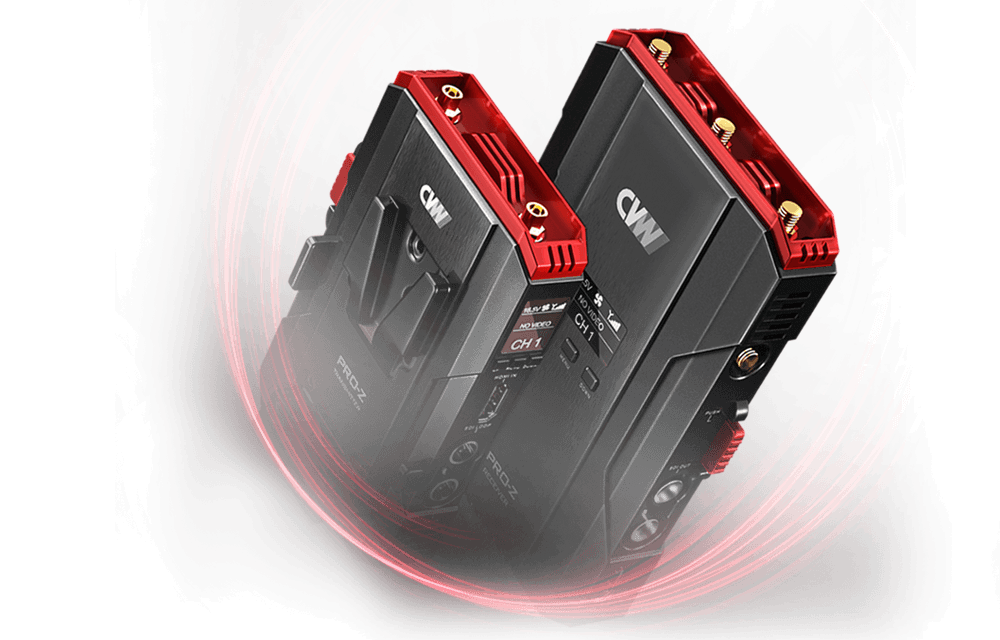
PRO Z

PRO Z PRO Z

Environment Sensing

Channel Scan Feature will evaluate the available channels and displays on the OLED screen.

Zero latency uncompressed video transmission

Up to 1080P60Hz,

10-bit with 4:2:2 chroma sampling,

rendering your cinematic storytelling

much more nuanced and immersive.

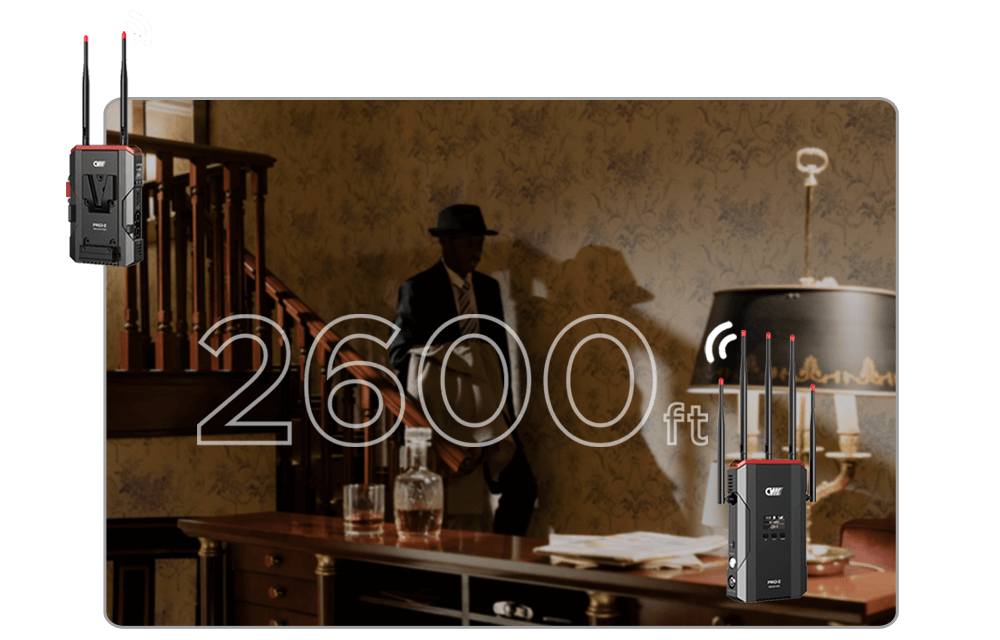
800 m/2600 ft transmission range (LoS)

Big coverage helps to enlarge your vision of cinematic storytelling.

Flexible receiver connectivity

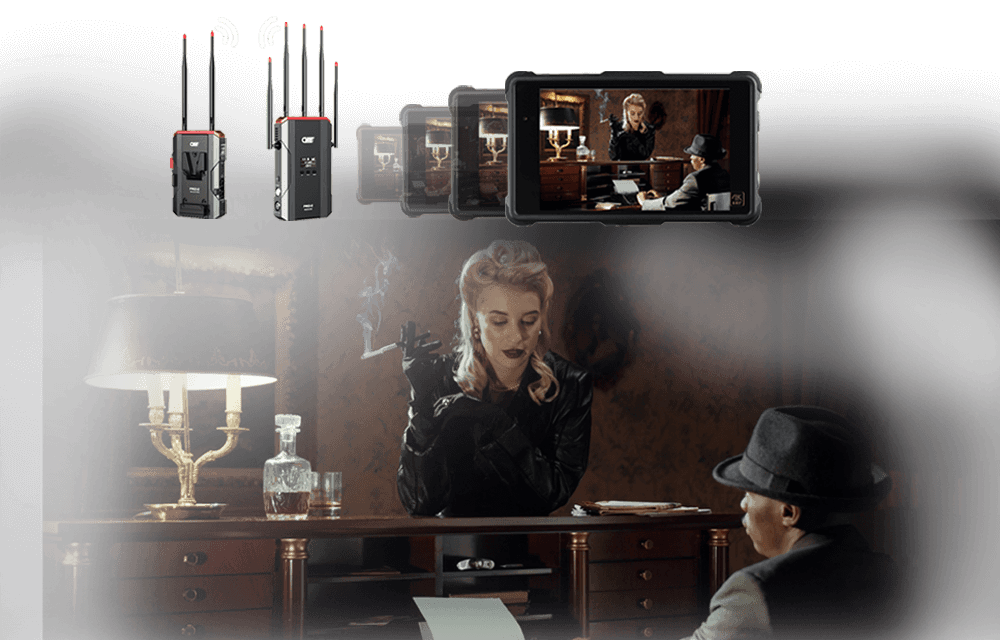
This multicast mode allows you to present the live shots to more people, such as your clients, producers, focus puller, etc.

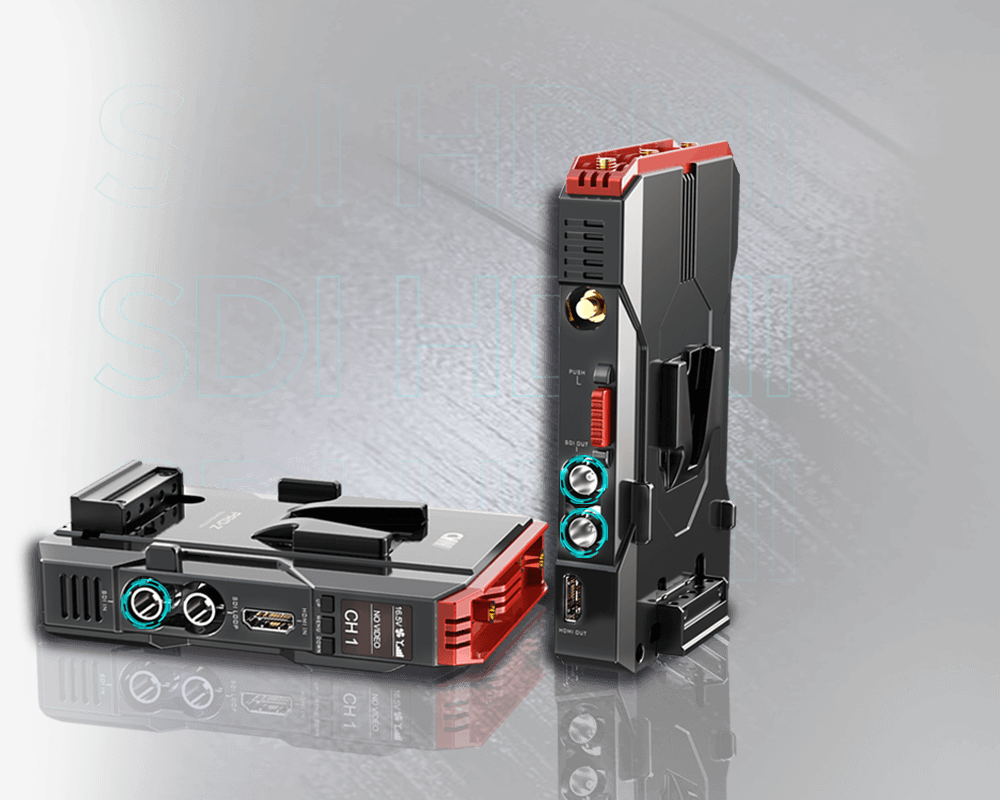
Well-protected interfaces and sandwich V-mounted structure

The V-Mount structure makes much easier installation and can power up the transmitter and the camera simultaneously.

SDI + HDMI, compatible with variety of cameras

A wonderful solution for directors, cinematographers, video producers, vloggers, cinematic enthusiasts, etc.

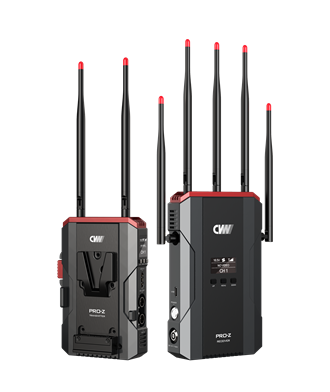
Instant installtion with a 24.5mm ultra-thin body

The system is slim enough to be integrated with the camera or steadicam.

Smart cooling design, auto or manual mode for your selection

The fan could be turned off manually to make the system noise free.

Packing List


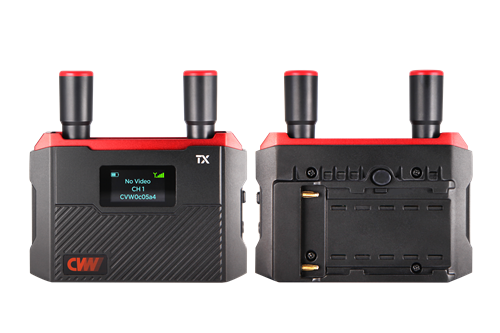
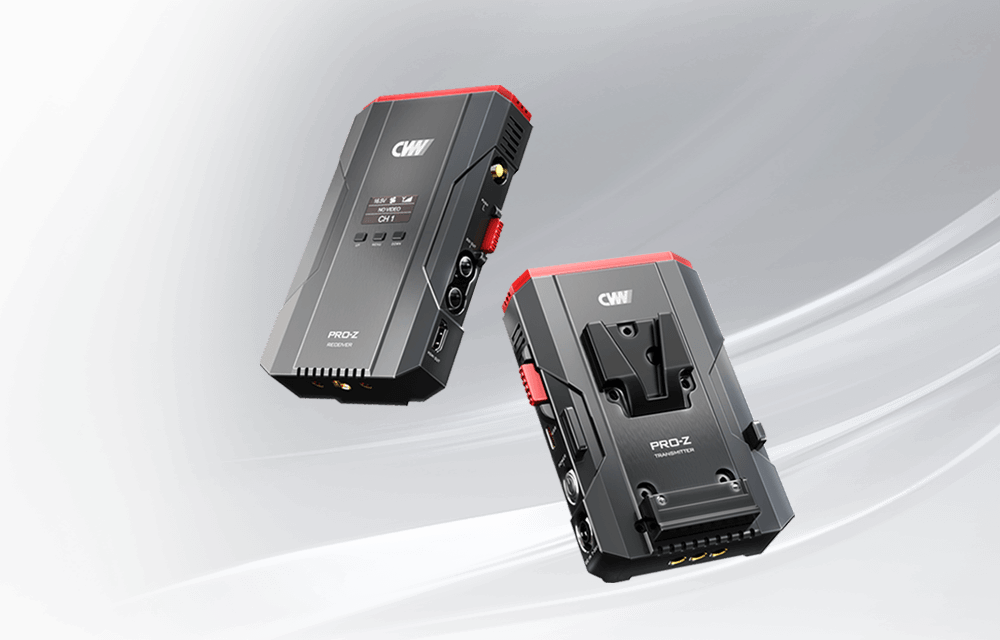
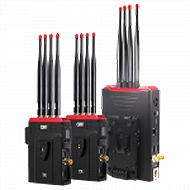
Trasmitter x 1
Receiver x 1
Receiving  Sensitivity/-70dBm
Transmission power20dBm/
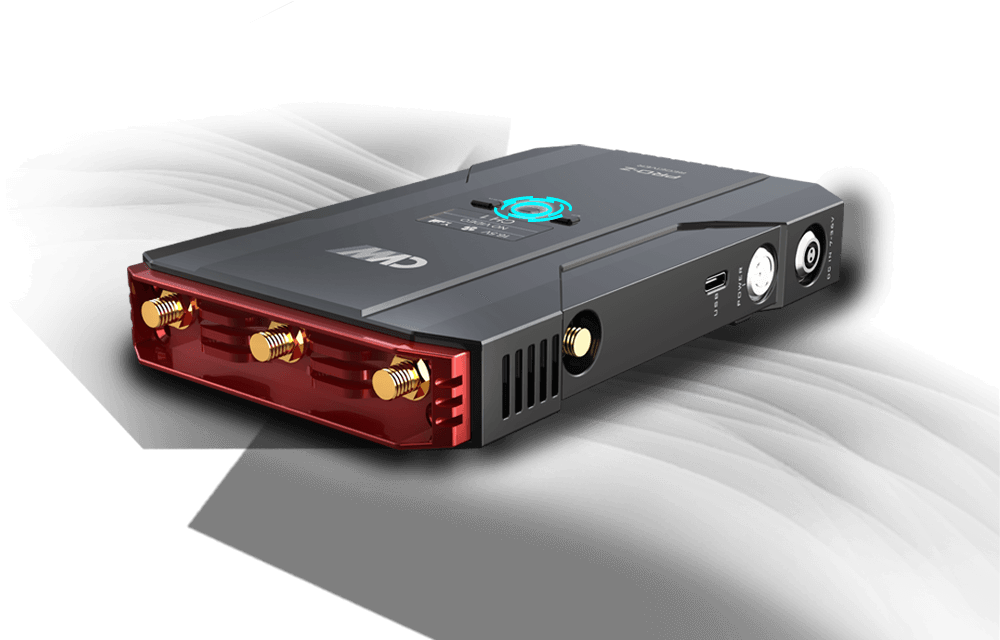
Antenna ModeExternal antenna x2External antenna x5
Frequency5.1-5.9 (GHz)
Power consumptionMAX 12WMAX 8W
Operating voltage7-36V
Bandwidth40MHz
Transmission Range800 m/2600 ft (LoS)
Interface3G-SDI loop output, SDI input, HDMI input, USB Type-C, LEMO power input (OB/2-pin), OLED screen, function buttonDual SDI output, HDMI output, USB Type-C, LEMO power input (OB/2-pin), OLED screen, function button
OLED ScreenOperating channel info, video resolution, battery voltage, fan status, signal info, and other information
Video Resolution

1080P 23.98/24/25/30/50/60 1080psf 23.98/24/25 1080i 50/59.94/60 

720P 50/59.94/60 576P 576i 480P 480i

Temperature-10°C - 50°C(Working);-40°C -80°C(Storage)
Mounting1/4-inch screw thread x3, V-mount battery slot x21/4-inch screw thread x2, 3/8-inch screw thread x1, V-mount battery slot x1
Dimensions (mm)134(H)x92.5(L)x24.59(W)mm165(H)x106(L)x26(W)mm


VIDEOS
PRO Z Unboxing Video
PRO Z Product Video
PRO Z Product Video
QUESTIONS & ANSWERS
Q
No sound during transmission.
A

Please check to see if the audio mode set by the transmitter is an external audio mode. If it is external audio mode, long press the MODE key for 3 seconds and release it to switch back to embedded audio mode.

Q
Extend the transmission range
A

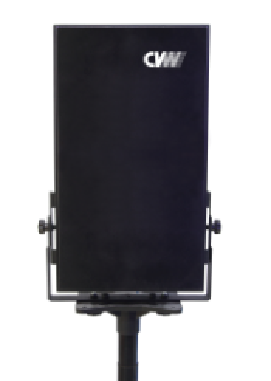
You can use CVW panel antenna to extend its transmission range.  A panel antenna is a type of directional antenna, which can be used to extend the system’s transmission range, but the trade-off is that the panel antenna has a transmission angle of 45 degrees.

Q
The corresponding bandwidth to its working frequency
A

5.1-5.9GHZ (CH1-5.19G, CH2-5.23G, CH3-5.27G, CH4-5.31G, CH5-5.51G, CH6-5.55G, CH7-5.59G, CH8-5.63G, CH9-5.67G, CH10-5.755G, CH11-5.795G).

Q
The channel setting when you using one or more systems
A

1. When one system is in use, it is recommended to set the channel at CH5-CH9. Because in most Wi-Fi coverage environments, the high and low frequency is mostly used, while somewhere between is rarely. The middle frequencies have low occupancy rates, which effectively avoids co-channel interference. Once the channel scanning function is enabled, it could quickly help to select the best possible channel from the available channel list.

2. When two systems are used simultaneously, the receivers must be placed at least 1 meter. Once the 80MHz operating mode is enabled, system one is set at CH5, and system two must be set at CH7, CH8, or CH9. It is recommended to keep them at least one channel apart. Once the channel scanning function is enabled, it could quickly help to select the best possible channel from the available channel list.
3. When multiple systems are used simultaneously, the receivers must be placed at least 1 meter apart. Once the 80MHz operating mode is enabled, system one is set at CH5, system two is set at CH7, and system three is at CH9. It is recommended to keep them at least one channel apart. Once the channel scanning function is enabled, it could quickly help to select the best possible channel from the available channel list.

Q
The display is flickering green when the receiver outputs video signal to the monitor
A

The HDMI cable has not been firmly plugged in the transmitter or receiver’s HDMI port or has not been firmly plugged in the camera’s HDMI port. Please unplug and plug the HDMI cable or change it to another HDMI cable.

Q
No video output when connecting a receiver to a switch console or monitor
A

Please confirm if the transmitter and receiver’s OLED screen displays the signal icon and the word ”VIDEO”. If there is no signal icon, it indicates that the network is not connected. please refer to the first problem’s solution of troubleshooting. If there is a signal icon, but the transmitter’s OLED screen does not display the word “VIDEO”, please check the video source and the connected SDI/HDMI cable. If the transmitter and receiver have a signal icon and a word “VIDEO”, but the switch console displays nothing, please check the SDI/HDMI cable that is connected to the switch console, and change the camera’s video output resolution to 1080i50 or 720p50, then test it. In addition, connect the receiver to other monitor with the SDI/HDMI cable to test them.

Q
The monitor displays mosaic or lag
A

  1. Within a 300 meters range, LNA mode is set at low gain mode (OLED screen displays the letter “L”, meaning that it is in low gain mode).
  2. When multiple transmitters are used simultaneously, please ensure that the transmitters are at least 1 meter apart.
  3. The transmitter is set up on a camera, it should be set up at 1.5-2 meters above the ground, and the cameraman’s body should not obstruct the antennas. The receiver should be set up at least 2 meters above the ground, and the antennas are fan-shaped, and each has a clear line of sight.
  4. The working channel is set between CH5-CH9.
  5. In a range exceeding 300 meters or when needing to transmit a signal through walls, please set the transmitter and receiver to high gain mode.
  6. If multiple systems are used simultaneously, please keep their receivers at least 2 meters apart.
  7. If a wireless broadcasting and communication system is used on set, please keep the broadcast and communication host and the CVW receiver at least 2 meters apart.

Q
A black screen is displayed on the monitor via receiver output
A

Suppose the monitor displays a black screen through receiver output after switching the video source’s video resolution. Please unplug and plug the transmitter or receiver’s HDMI cable. If unplugging and plugging an HDMI cable does not make the system work normally, please restart the transmitter and receiver.

Q
The transmitter and receiver are unable to establish a connection
A

1. In short-distance situations, please ensure that the transmitter and receiver’s antennas are already fully installed, then you must place them 5 meters. With LNA mode being set at low gain mode, (OLED screen displays the letter “L”, meaning it is in low gain mode) and when multiple transmitters are used simultaneously, please ensure that the transmitters are at least 1 meter apart.

2. In long-distance situations, the transmitter is set up on a camera or handle, it should be set up at 1.5-2 meters above the ground, and the cameraman’s body should not obstruct the antenna’s cylinder. The receiver should be set up at least 2 meters above the  The transmission is optimal when the antennas are arranged to be fan-shaped and have a clear line of sight. With LNA mode being set at high gain mode (OLED screen does not display the letter “L”, meaning it is in high gain mode) and when multiple transmitters are used simultaneously, please ensure that the transmitters are at least 2 meters apart.

3. Please set the working channel between CH5 to CH9.

4. Re-pairing the transmitter and receiver. A. Long press the WPS button for 3 seconds. “WPS” will be displayed on the transmitter and receiver’s OLED screen. When they build the connection successfully, the signal strength will be showed. B. If they failed to pairing, please change to other environments to try.

Q
It has noise when use intercom function.
A

Please check for other sources of interference next to the machine. If interference is determined, remove the source or try to see if there is still current noise at a distance of more than 1.5 meters. 

Note: Common sources of interference are wireless transmission devices, walkie-talkies, etc.